It’s very late in the season—it’s well into November, and there is snow in the forecast—but my heat-loving lemon verbena has been going strong throughout this mild, beautiful fall. Usually I spend days in September and October making preserves, but this year has been very short on time. I was able to make two lovely batches of crabapple jelly, however, and hoped—needed, really—to make at least one batch of lemon verbena jelly before fall turned toward winter.
Lemon verbena (Aloysia citrodora) is a tropical plant of the verbena family, native to South America where it grows as a perennial shrub, but cultivated in northern regions as an annual. It is one of my favourite herbs, mainly because of its strong, sweet, lemony scent. It makes the finest jelly—complex, multilayered and winey—but can also be preserved in oil and vinegar, infused into butter, dried for tea, and used fresh in baking.
I’ve been making lemon verbena jelly since 2018, and use a recipe from American culinary herb expert Marge Clark’s beautiful book The Best of Thymes (1997). In 2019 my lemon verbena jelly won first prize in the Jams, Jellies and Pickling competition at the Royal Agricultural Winter Fair, the first (and so far, only, a lapse I hope to rectify next year) time I’ve entered any of my preserves, which means it’s an excellent recipe and a superb herb.
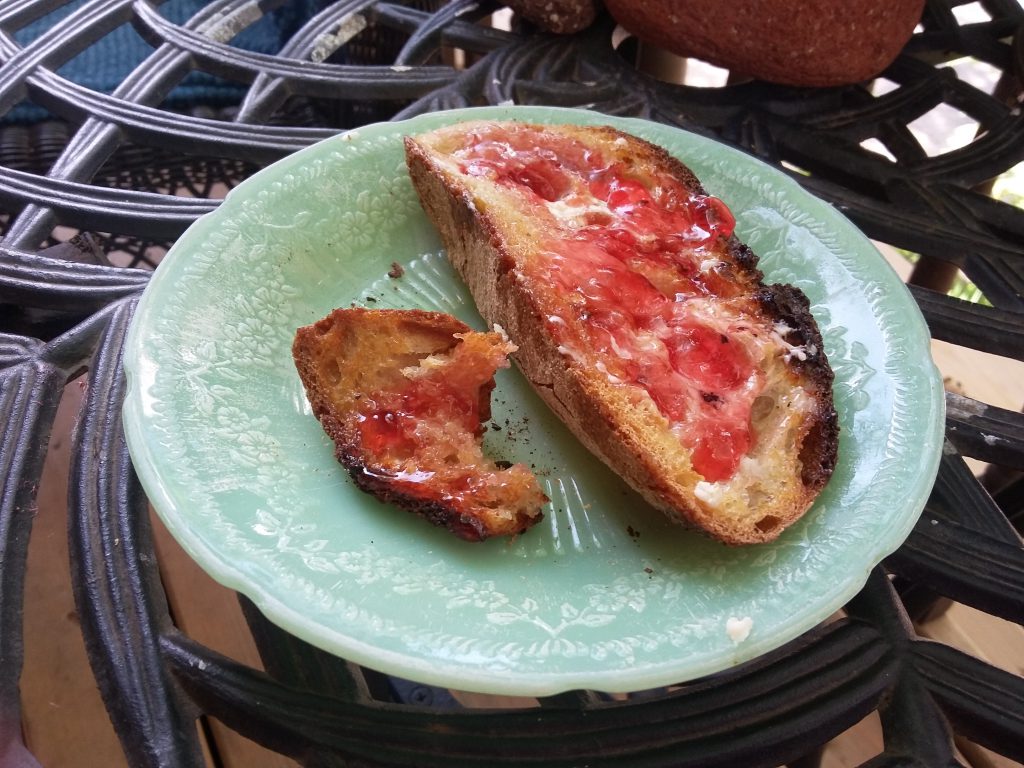
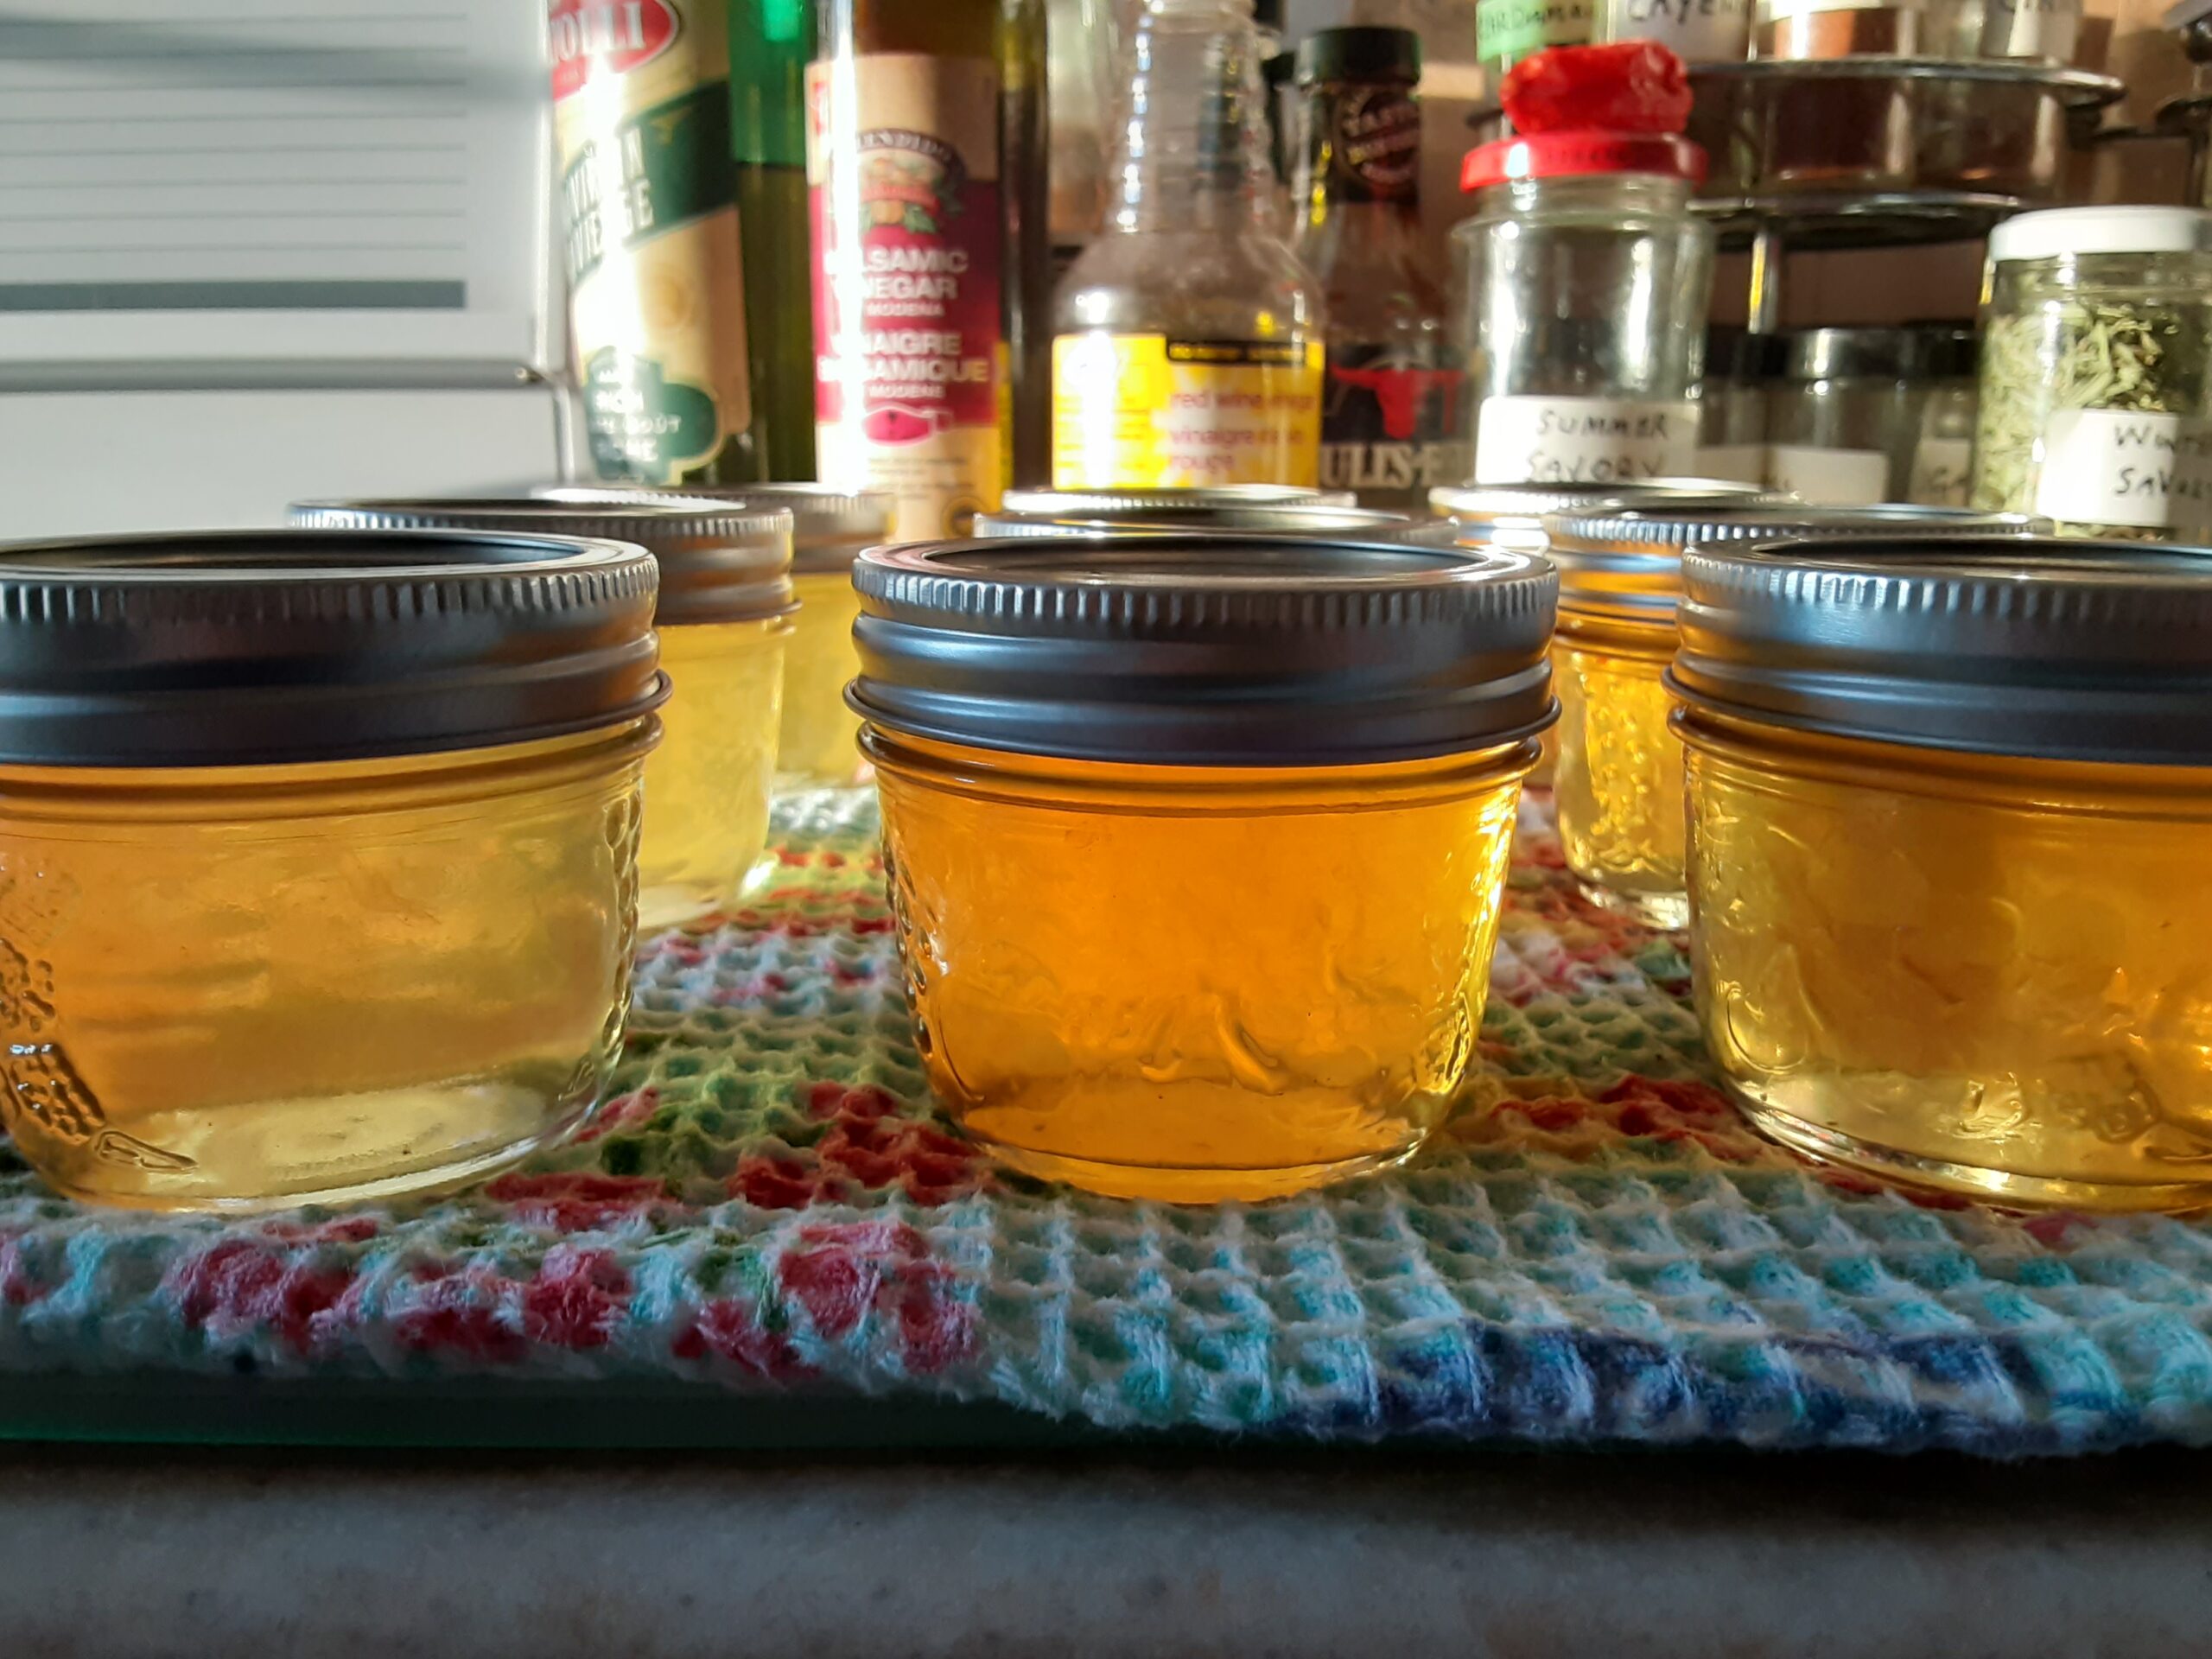
Making herb jellies is quite straightforward. It revolves around making an infusion of the bruised leaves of a given herb in boiling water, a thing for which most highly flavoured herbs (perhaps the best known being mint) are well suited. The herb leaves are strained out, and the infusion is then jellied, bottled and processed to be safely shelf-stable. Some people complain about the quantity of sugar that goes into most jellies, but (as preserving experts will attest), sugar is one of the ingredients that keeps jellies shelf-stable for long periods. I preserve my jellies in small (125 ml) jars, because I find a little goes a long way. Lemon verbena jelly spread on fresh sourdough toast is one of my favourite things to eat, and one little jar can cover a month’s worth of weekend toasts. Most of these little jars will be given as gifts to friends, but I will keep two or three for toast.
Yesterday I went out in the low-angled November sunlight, cut the green branches from my lemon verbena, and stripped them at the library table while the aromatic oils filled the whole house. I chopped the leaves, poured boiling water over them, and let them rest while preparing my canning jars. Then I made the jelly, stirring it to a high boil, and ladled it into jars before processing it in a hot water bath. This recipe always makes nine little jars, and I counted nine satisfying ‘pings’ as their lids snapped down after processing.
I have a deep and enduring love of culinary herbs, and grow dozens of varieties, mostly in containers on the sunny decks and verandas of our otherwise mainly shady property. Next year, however, I plan to turn our front garden into a (somewhat) formal herb garden, so some of the classic perennial herbs (sage, rosemary, thyme, Angelica, will have more room to root. This year I planted some of the more shade tolerant herbs (Sweet Cicely, lemon balm, lemon thyme) in our back garden, and have recently mulched them in hopes they’ll survive the winter. I have also had good luck with herbs overwintering in containers (especially lemon thyme, tarragon and winter savoury).
A few weeks ago I cut bunches of the herbs I use most in the winter (sage, rosemary, tarragon, lemon thyme, oregano, sweet marjoram) and hung them to dry in the garage. Later this week I’ll crumble them into jars, each handful a promise of life returning after the long winter.
*
Here’s a bonus picture of eight 1950s-era Jane Ray (Fire King) teacups and saucers I found on the shelf at Value Village a week ago, bundled in sets of four for $5.99 each. This was an improbable find—Jadeite, remains highly collectible and it has become uncommon to find pieces at thrift stores—but I found them deposited on a shelf in the board games section, suggesting they had been picked up and then set down by one of the resellers who prowls the local thrifts. Maybe there’s not enough of a margin on Jadeite teacups, or perhaps they’d been set down because they are unmarked, but I was happy to add them to the small collection of Jadeite I’ve built up since buying my first Anchor Hocking Swirl bowl for $3 at an Eastern Ontario yard sale in 1996. I still use that beautiful bowl every time I make bread (it’s my proofing bowl), and we use Jadeite saucers almost every day as sandwich plates.
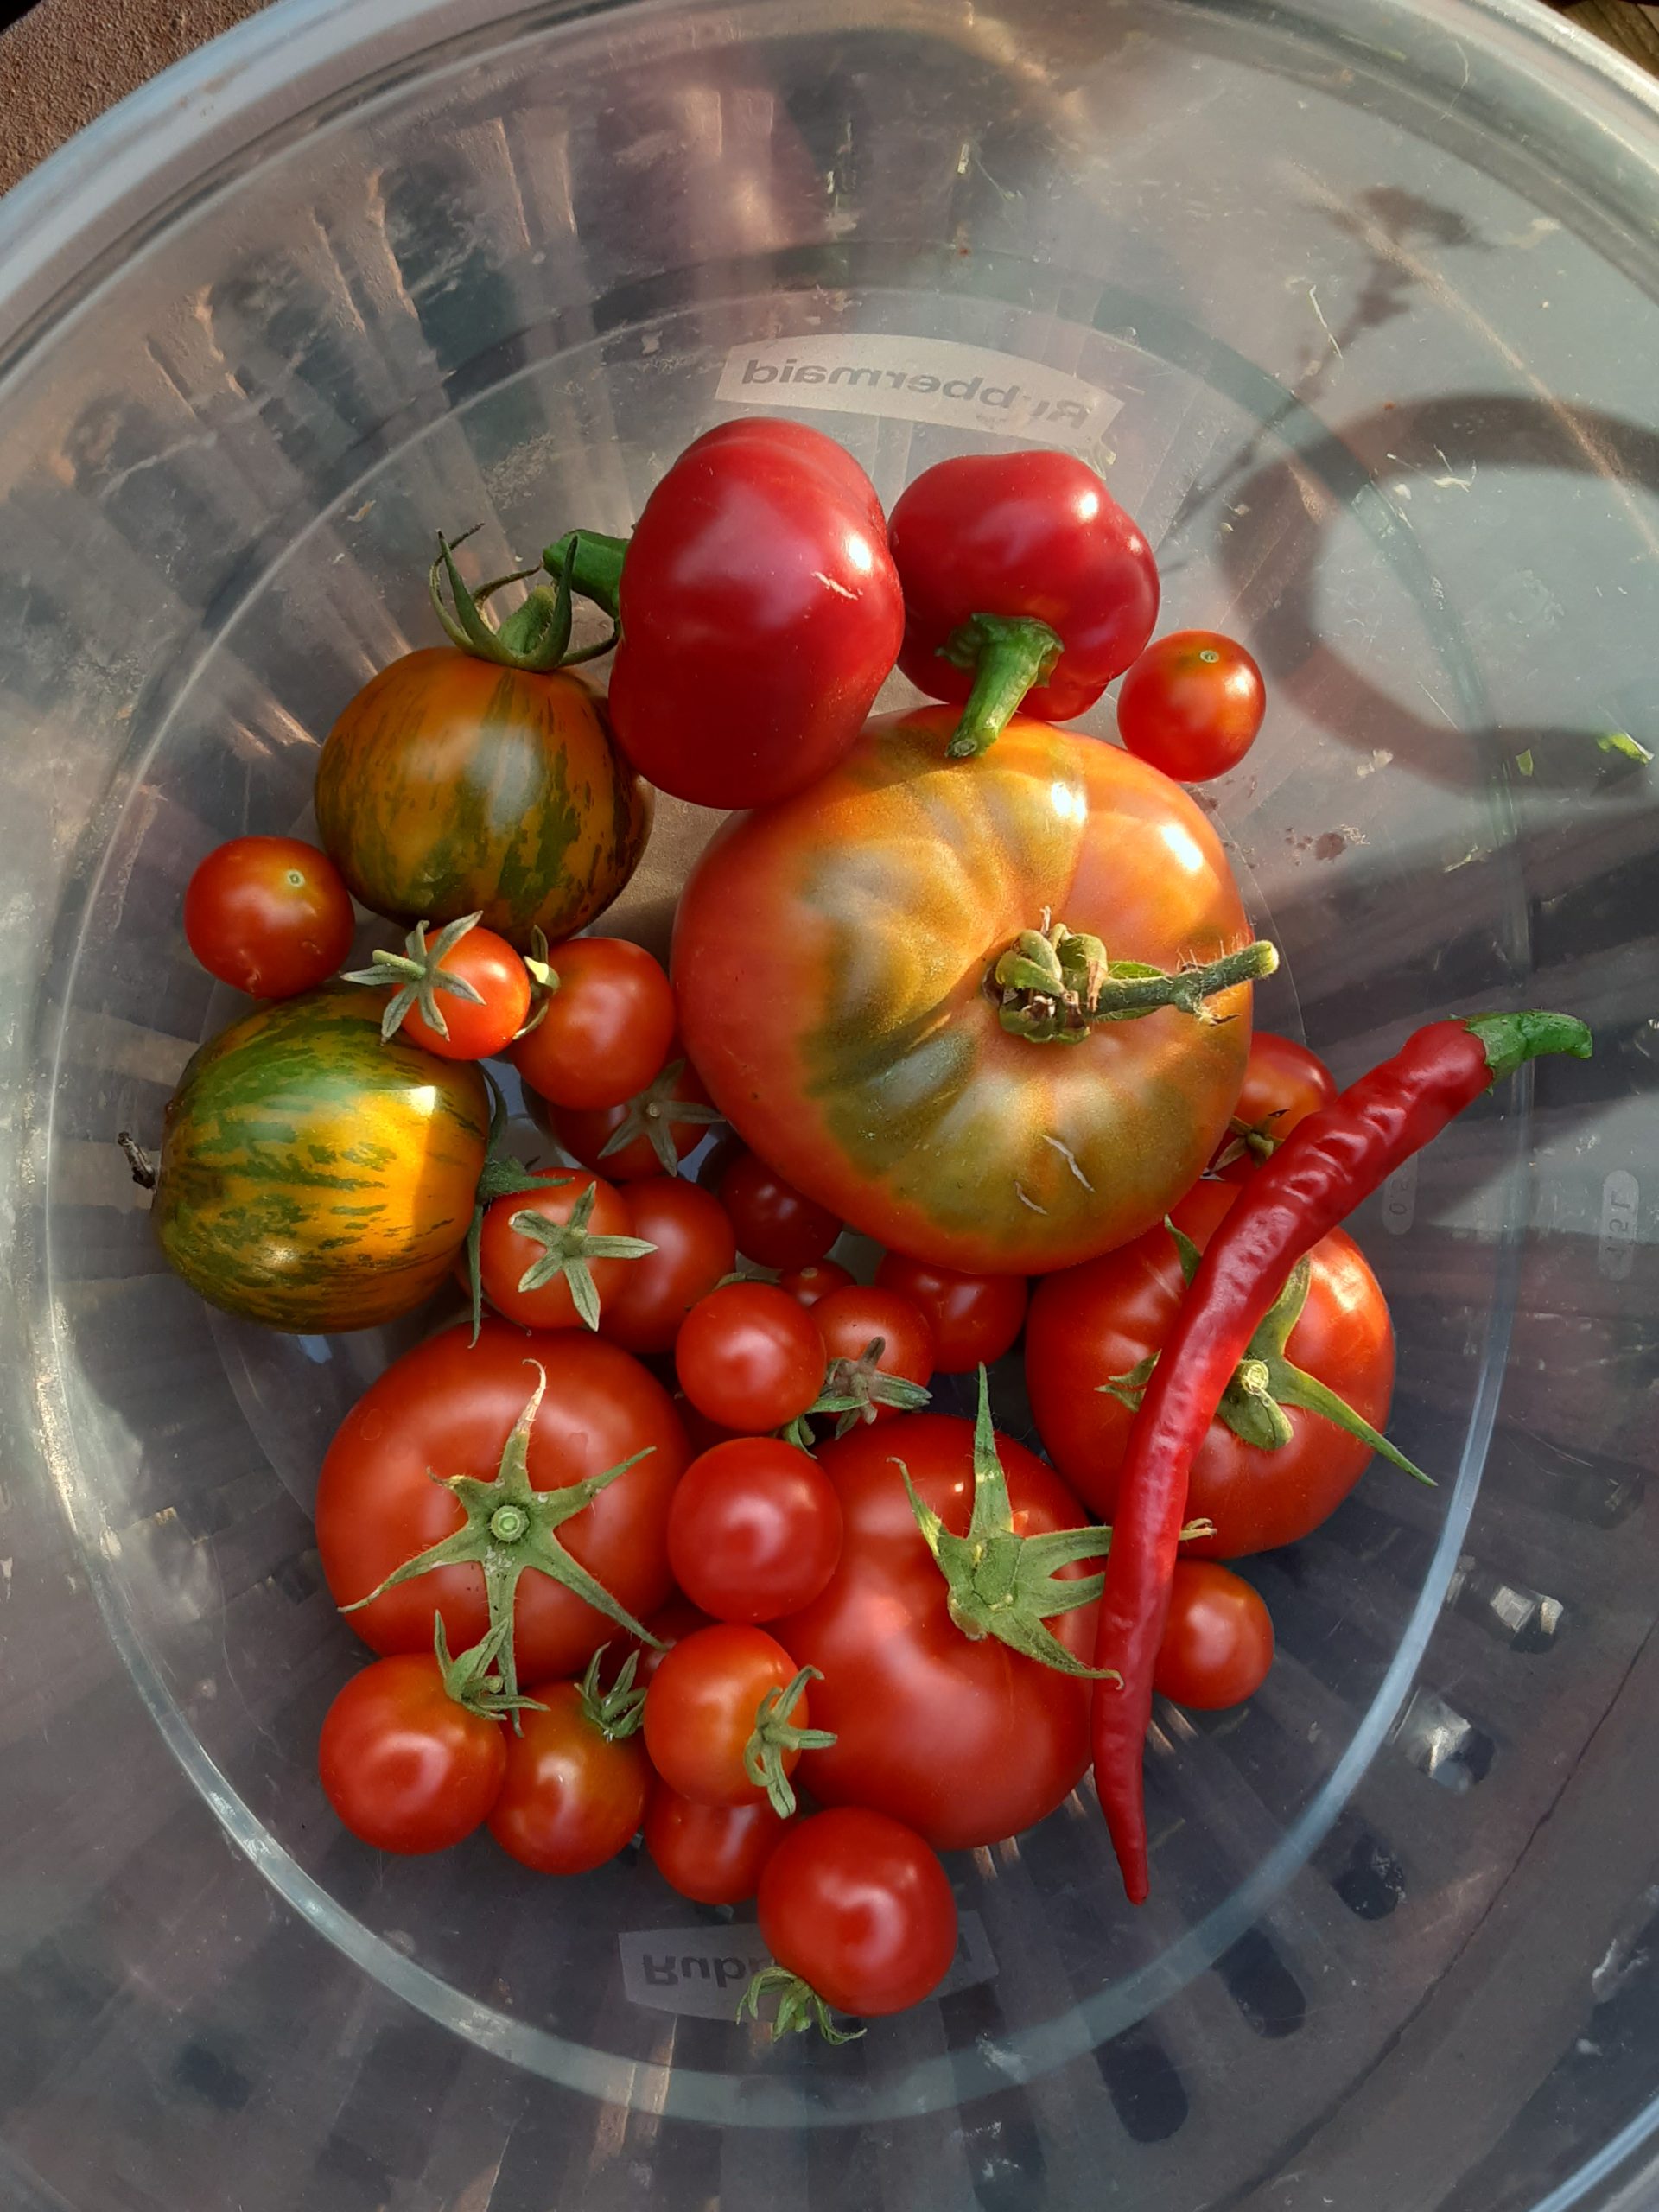
Every morning I go up to my secret garden on the third floor deck and pick a colander full of fruit. Here is this morning’s pick: one Brandywine, two Green Zebra, three Slicer and a half pint of Tiny Tim tomatoes; also a couple of (likely) Cherry Bomb and one Thai Dragon pepper. Usually there is also an eggplant or two, but I’m leaving the current crop on their stems until I can use up the eggplants already in the fridge. And always, of course, there are herbs.
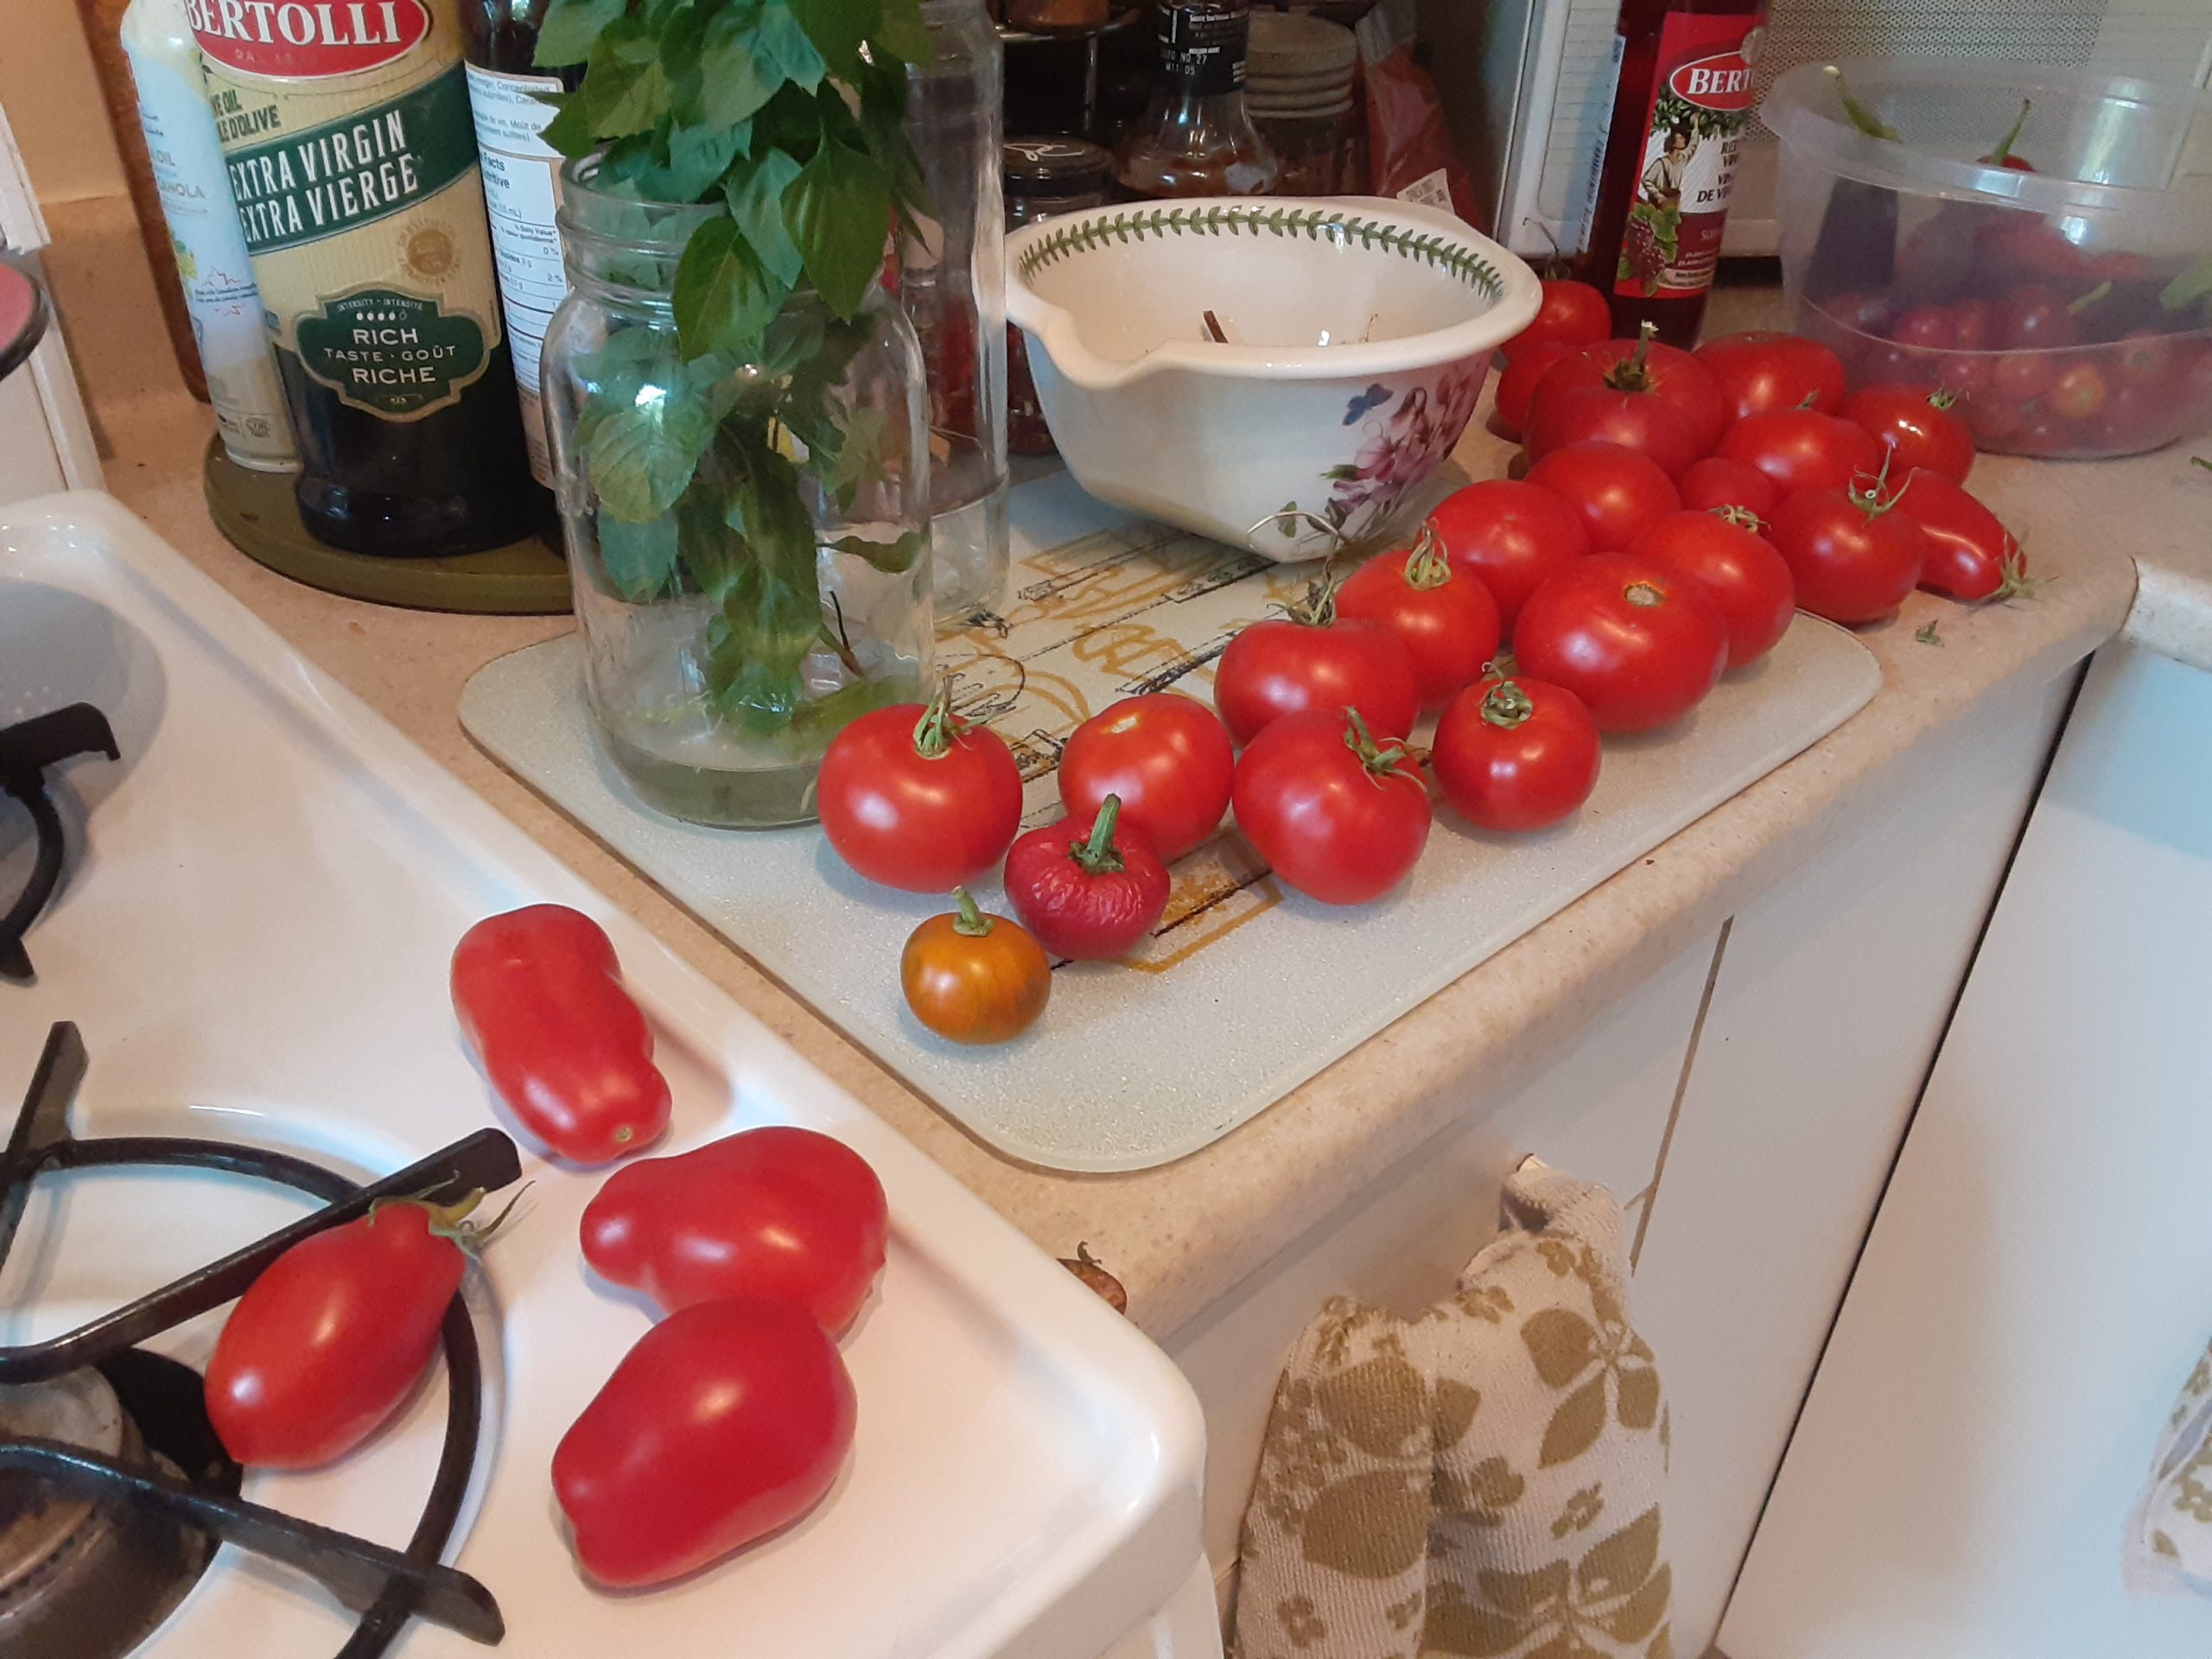
In the last week or so, tomatoes have begun to pile up in bowls and on kitchen countertops, accumulating more quickly than we could use them up. In response, I began casting about for a preserving recipe, one that would enable me to ‘put up’ all these beautiful ripe tomatoes safely and deliciously without enormous amounts of effort spent peeling, coring and seeding them before processing.
I now have a decent shelf of preserving manuals, but my go-to preserving book is still Sarah B. Hood’s We Sure Can: How Jams and Pickles are Reviving the Lure and Lore of Local Food (Arsenal Pulp Press, 2011). Earlier this year Sarah published another book, Jam, Jelly and Marmalade: A Global History (part of Reaktion Books’ Edible series). Offering fascinating insights into cultural, economic, labour and political history, this book is about much more than preserves, and as a bonus it also includes a selection of recipes dating back as far as the first century CE. One of those recipes is an intriguing-sounding tomato jam recipe for which Hood credits Marisa McClellan of Food in Jars fame (and McClellan in turn credits a friend, coincidentally named Amy, thus underscoring how deeply social and collaborative food culture inevitably becomes).
The first good thing about this tomato jam recipe is that it does not require skinning or seeding the tomatoes. This saves greatly on processing time and reduces waste. It also suits my preference for preserves that have texture, body or at least complexity to them. Even so, it took me about an hour to core and finely chop all five (and a bit) pounds of tomatoes I had sitting on the counter. Next time I think I would chop the tomatoes more coarsely, given how long they have to break down while simmering; I would also be less attentive to coring them.
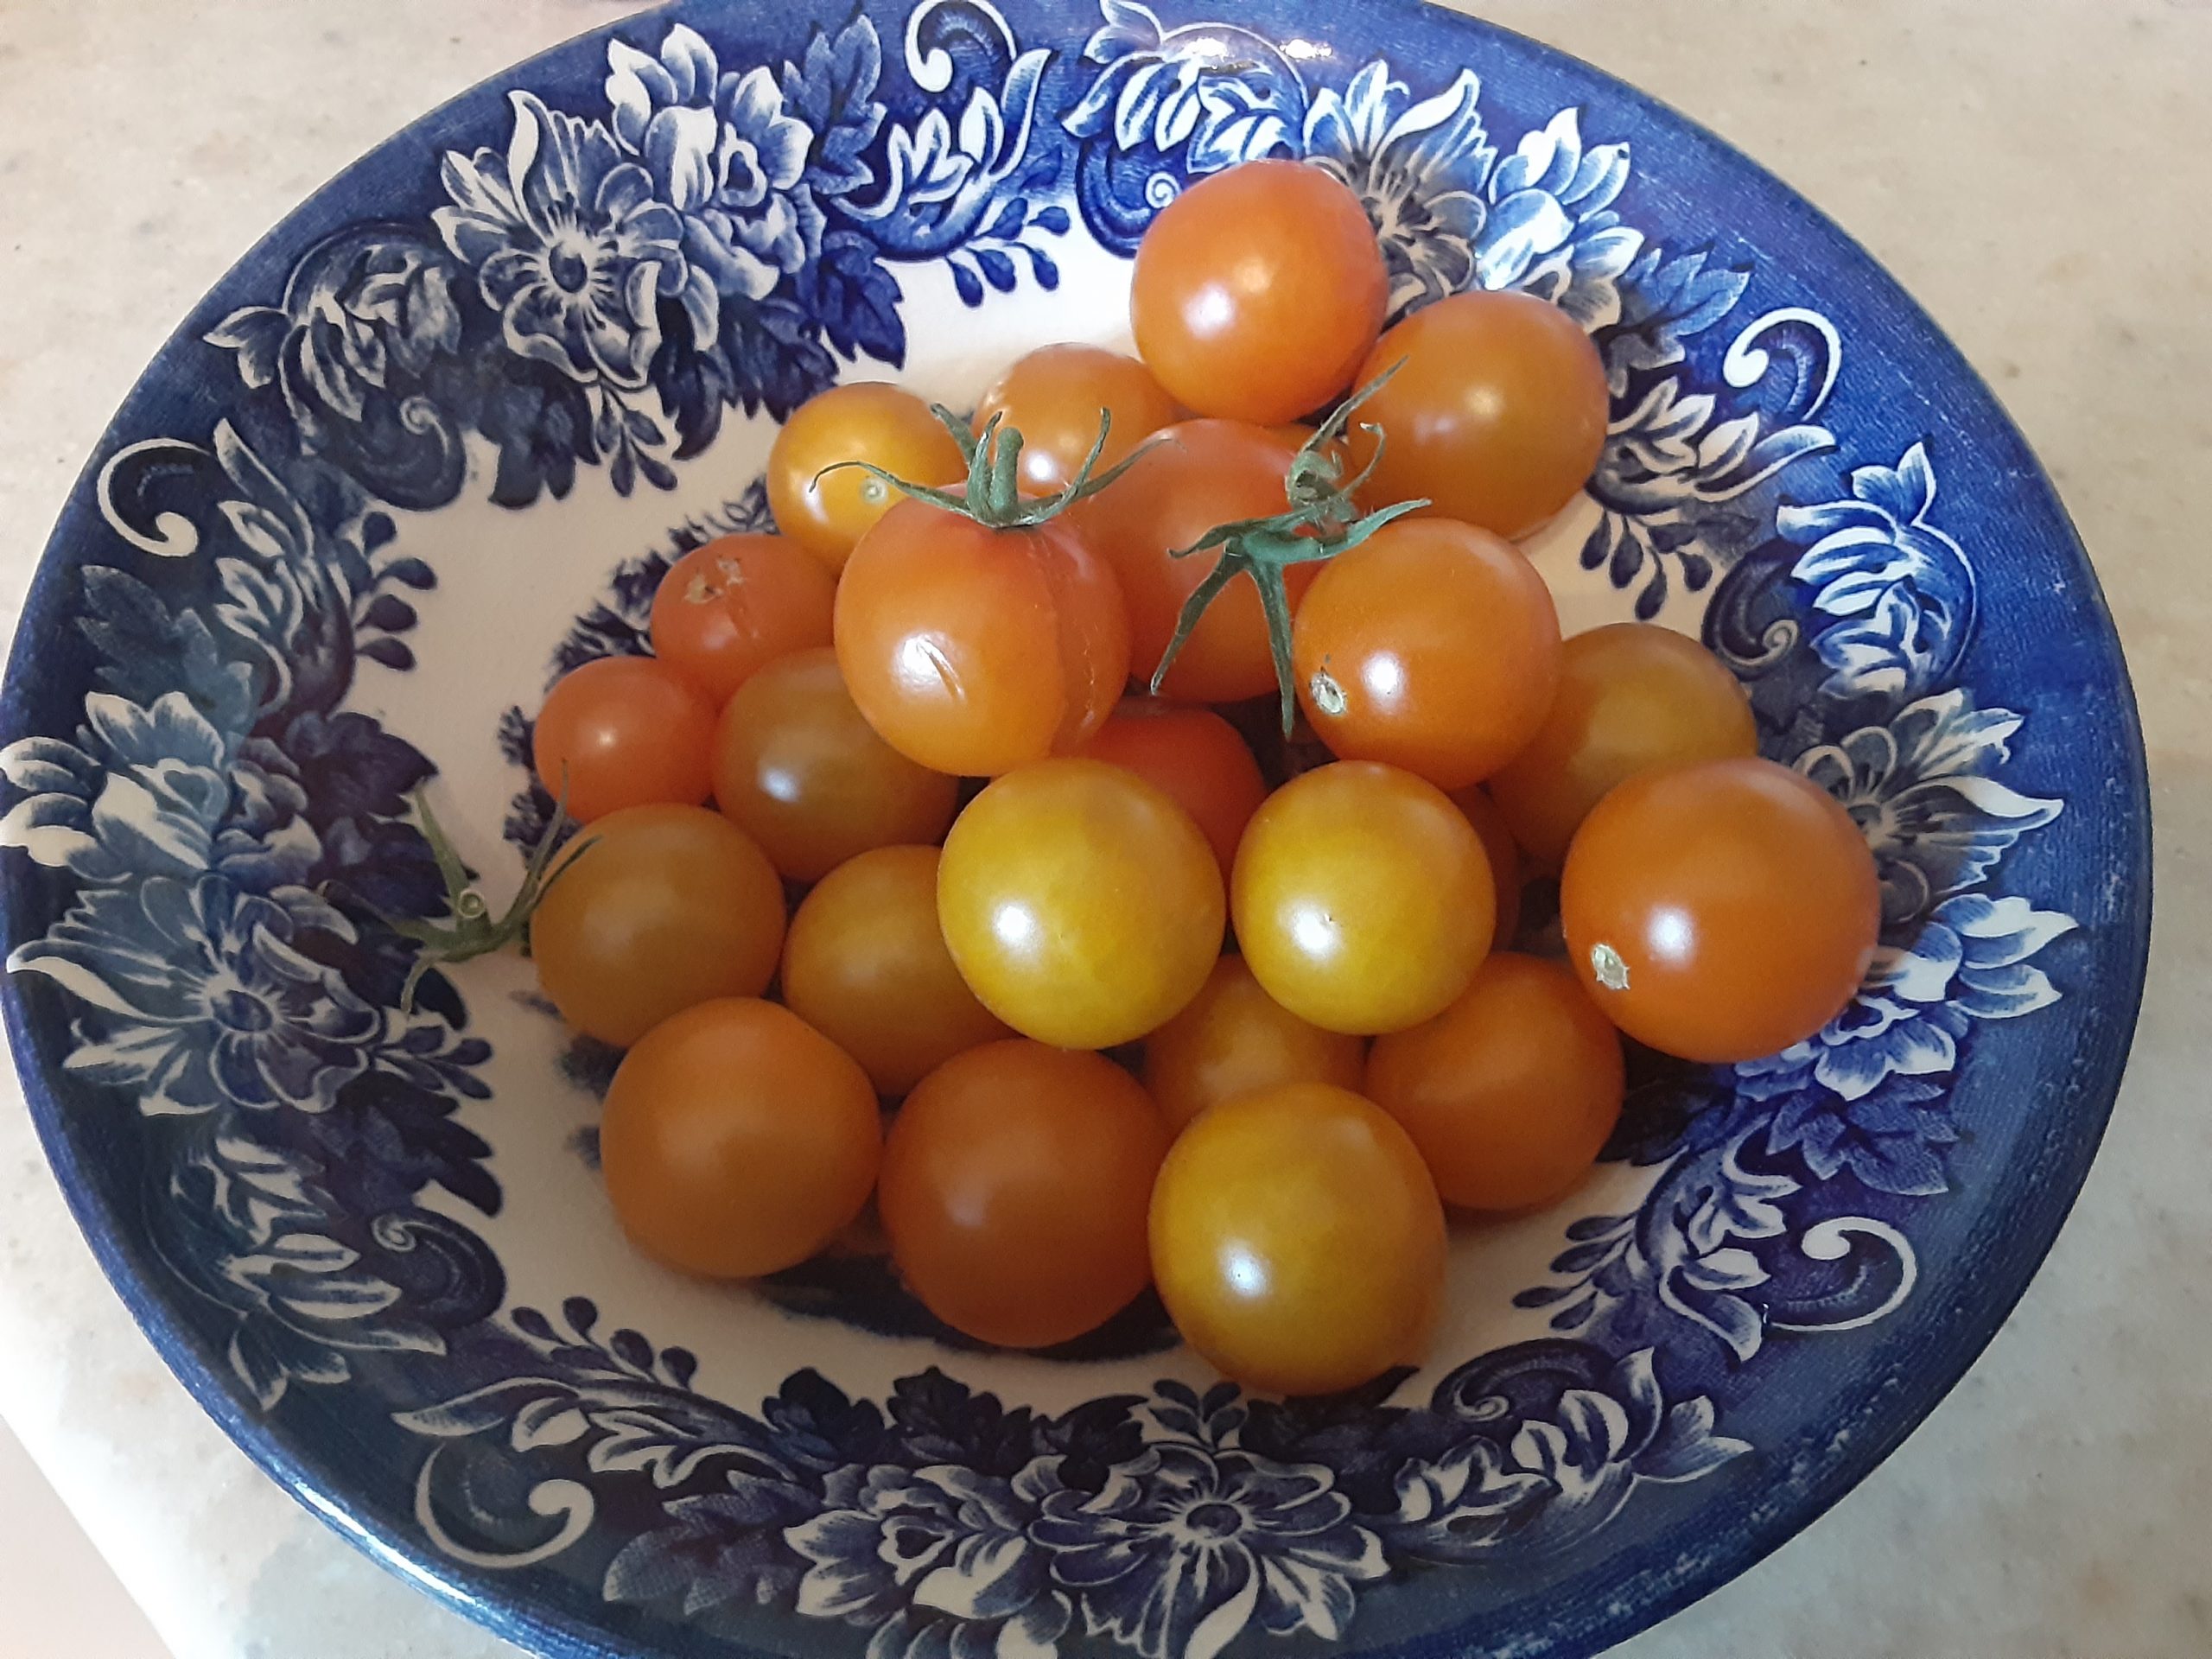
The second good thing about this recipe is that you can use any kind or combination of tomatoes. A good thing for the half-dozen varieties sitting on the counter, including these exquisite and juicy Sungolds.
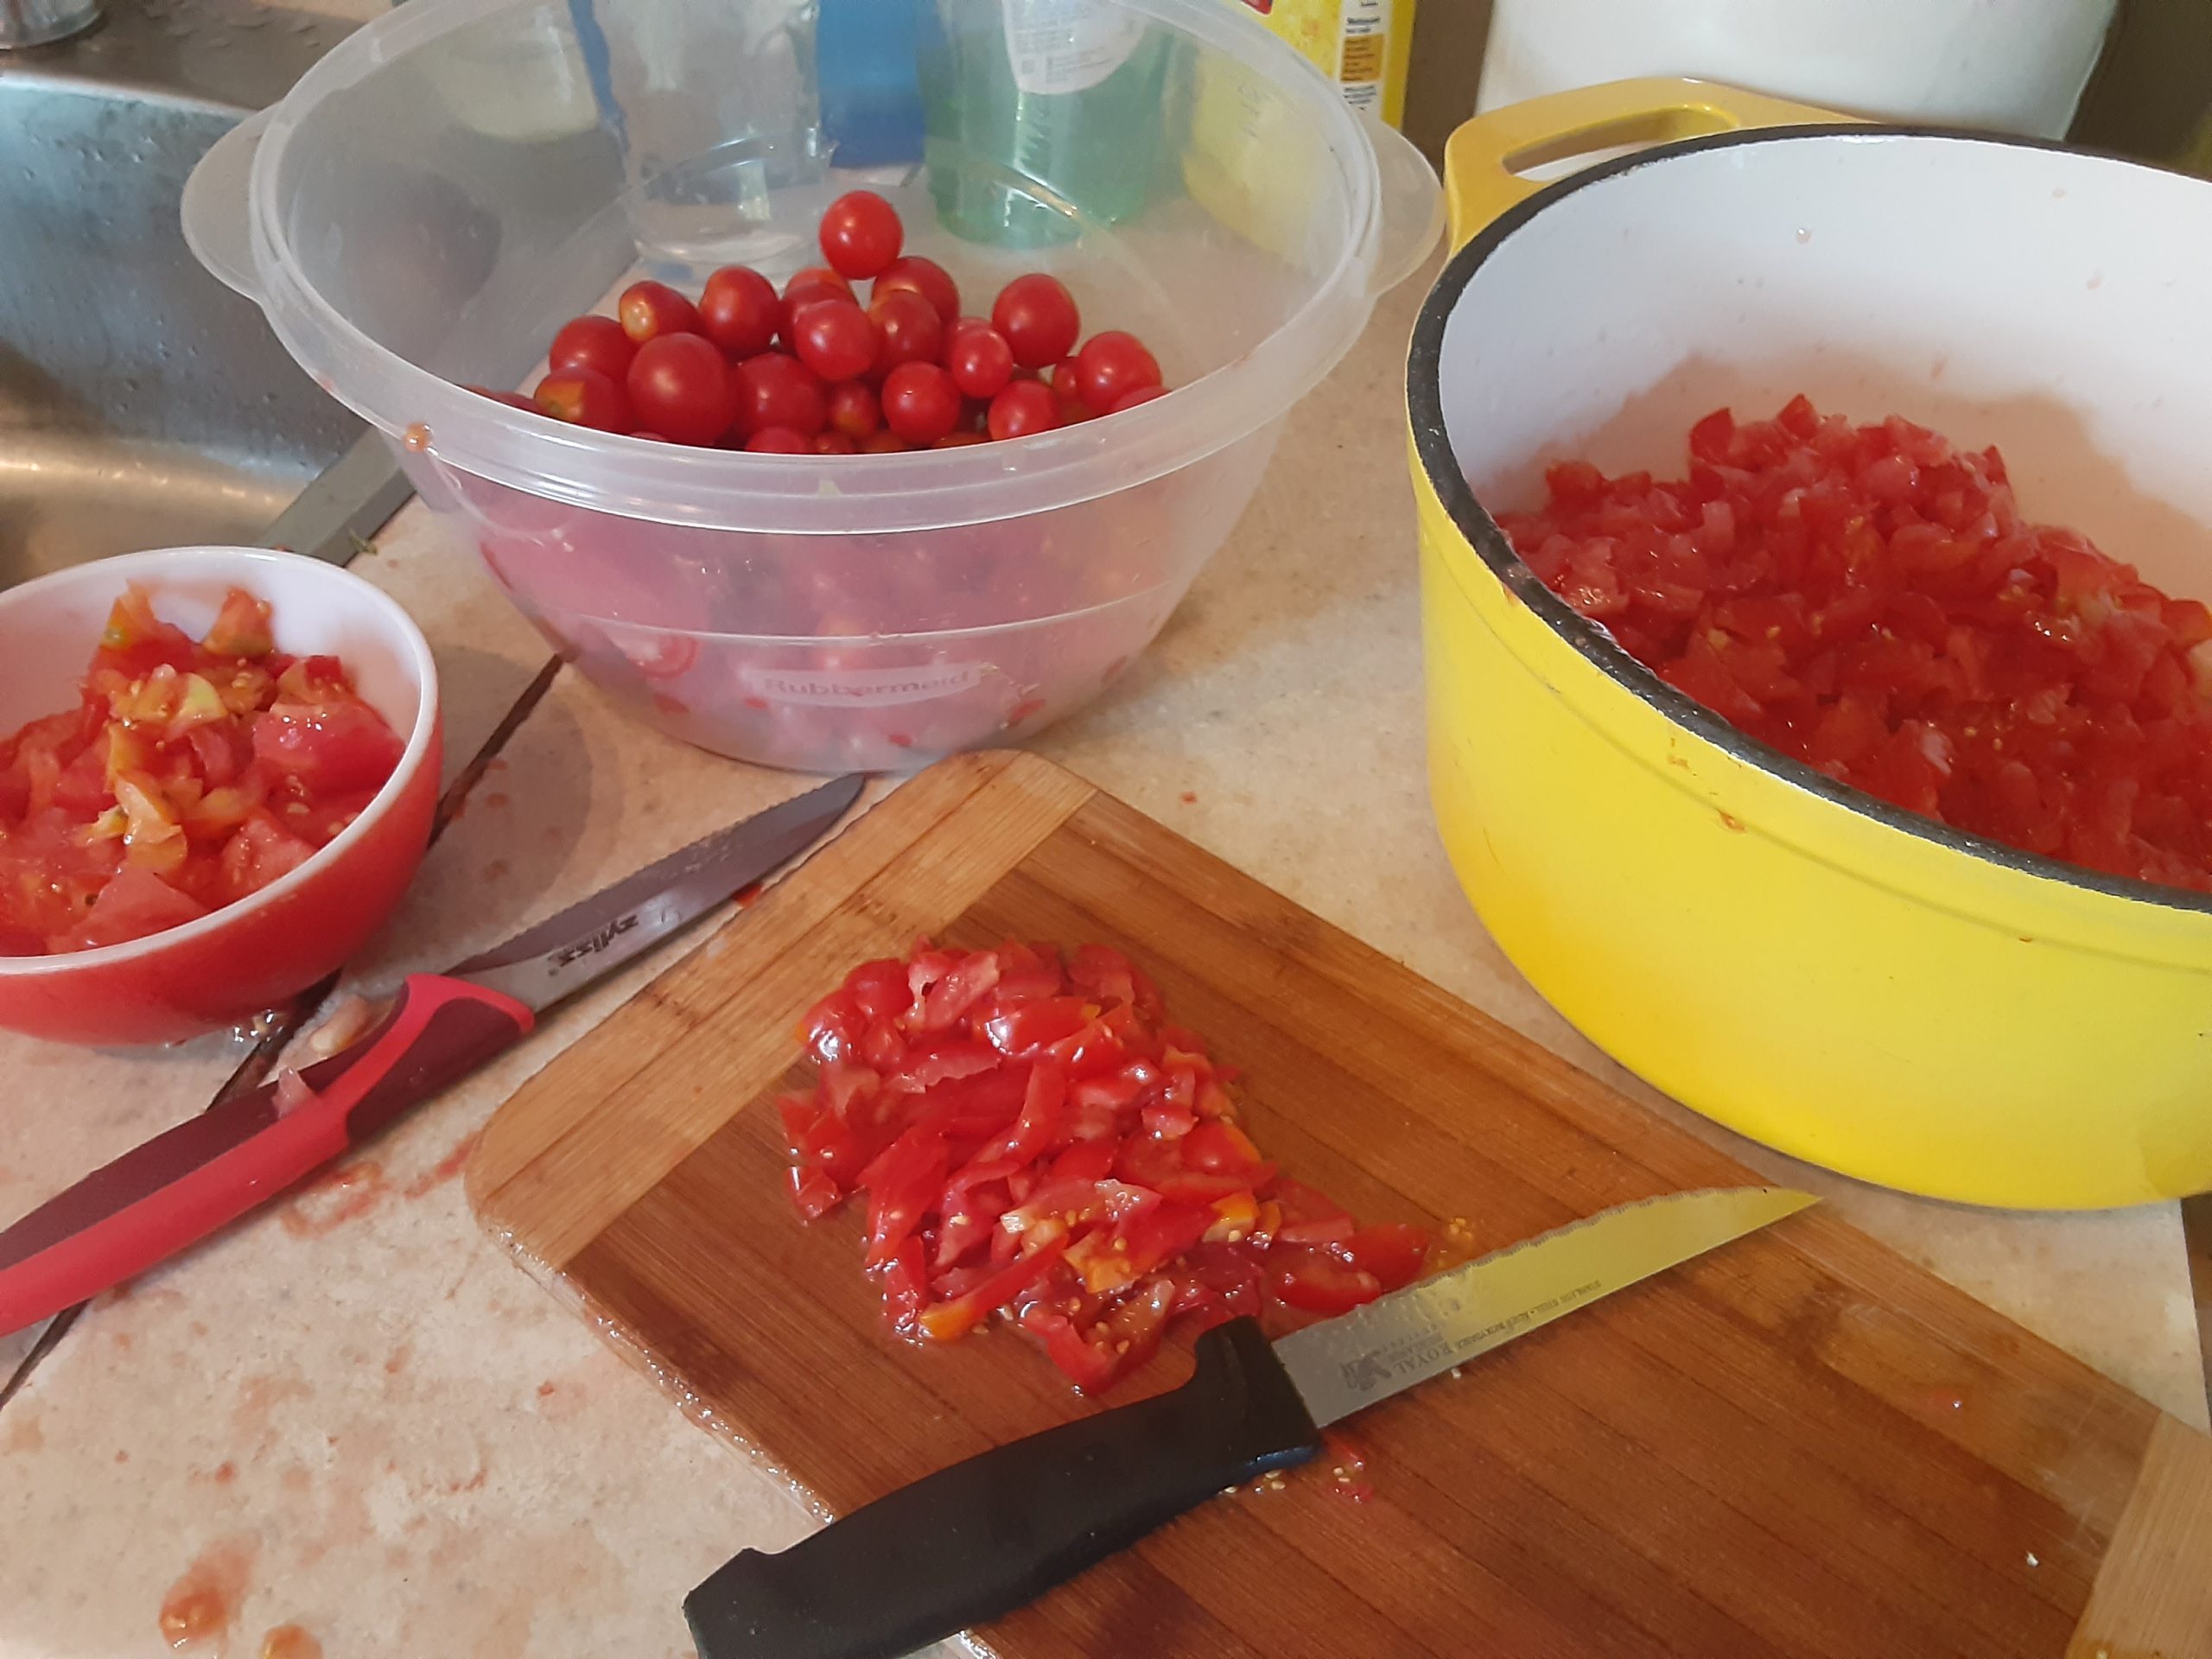
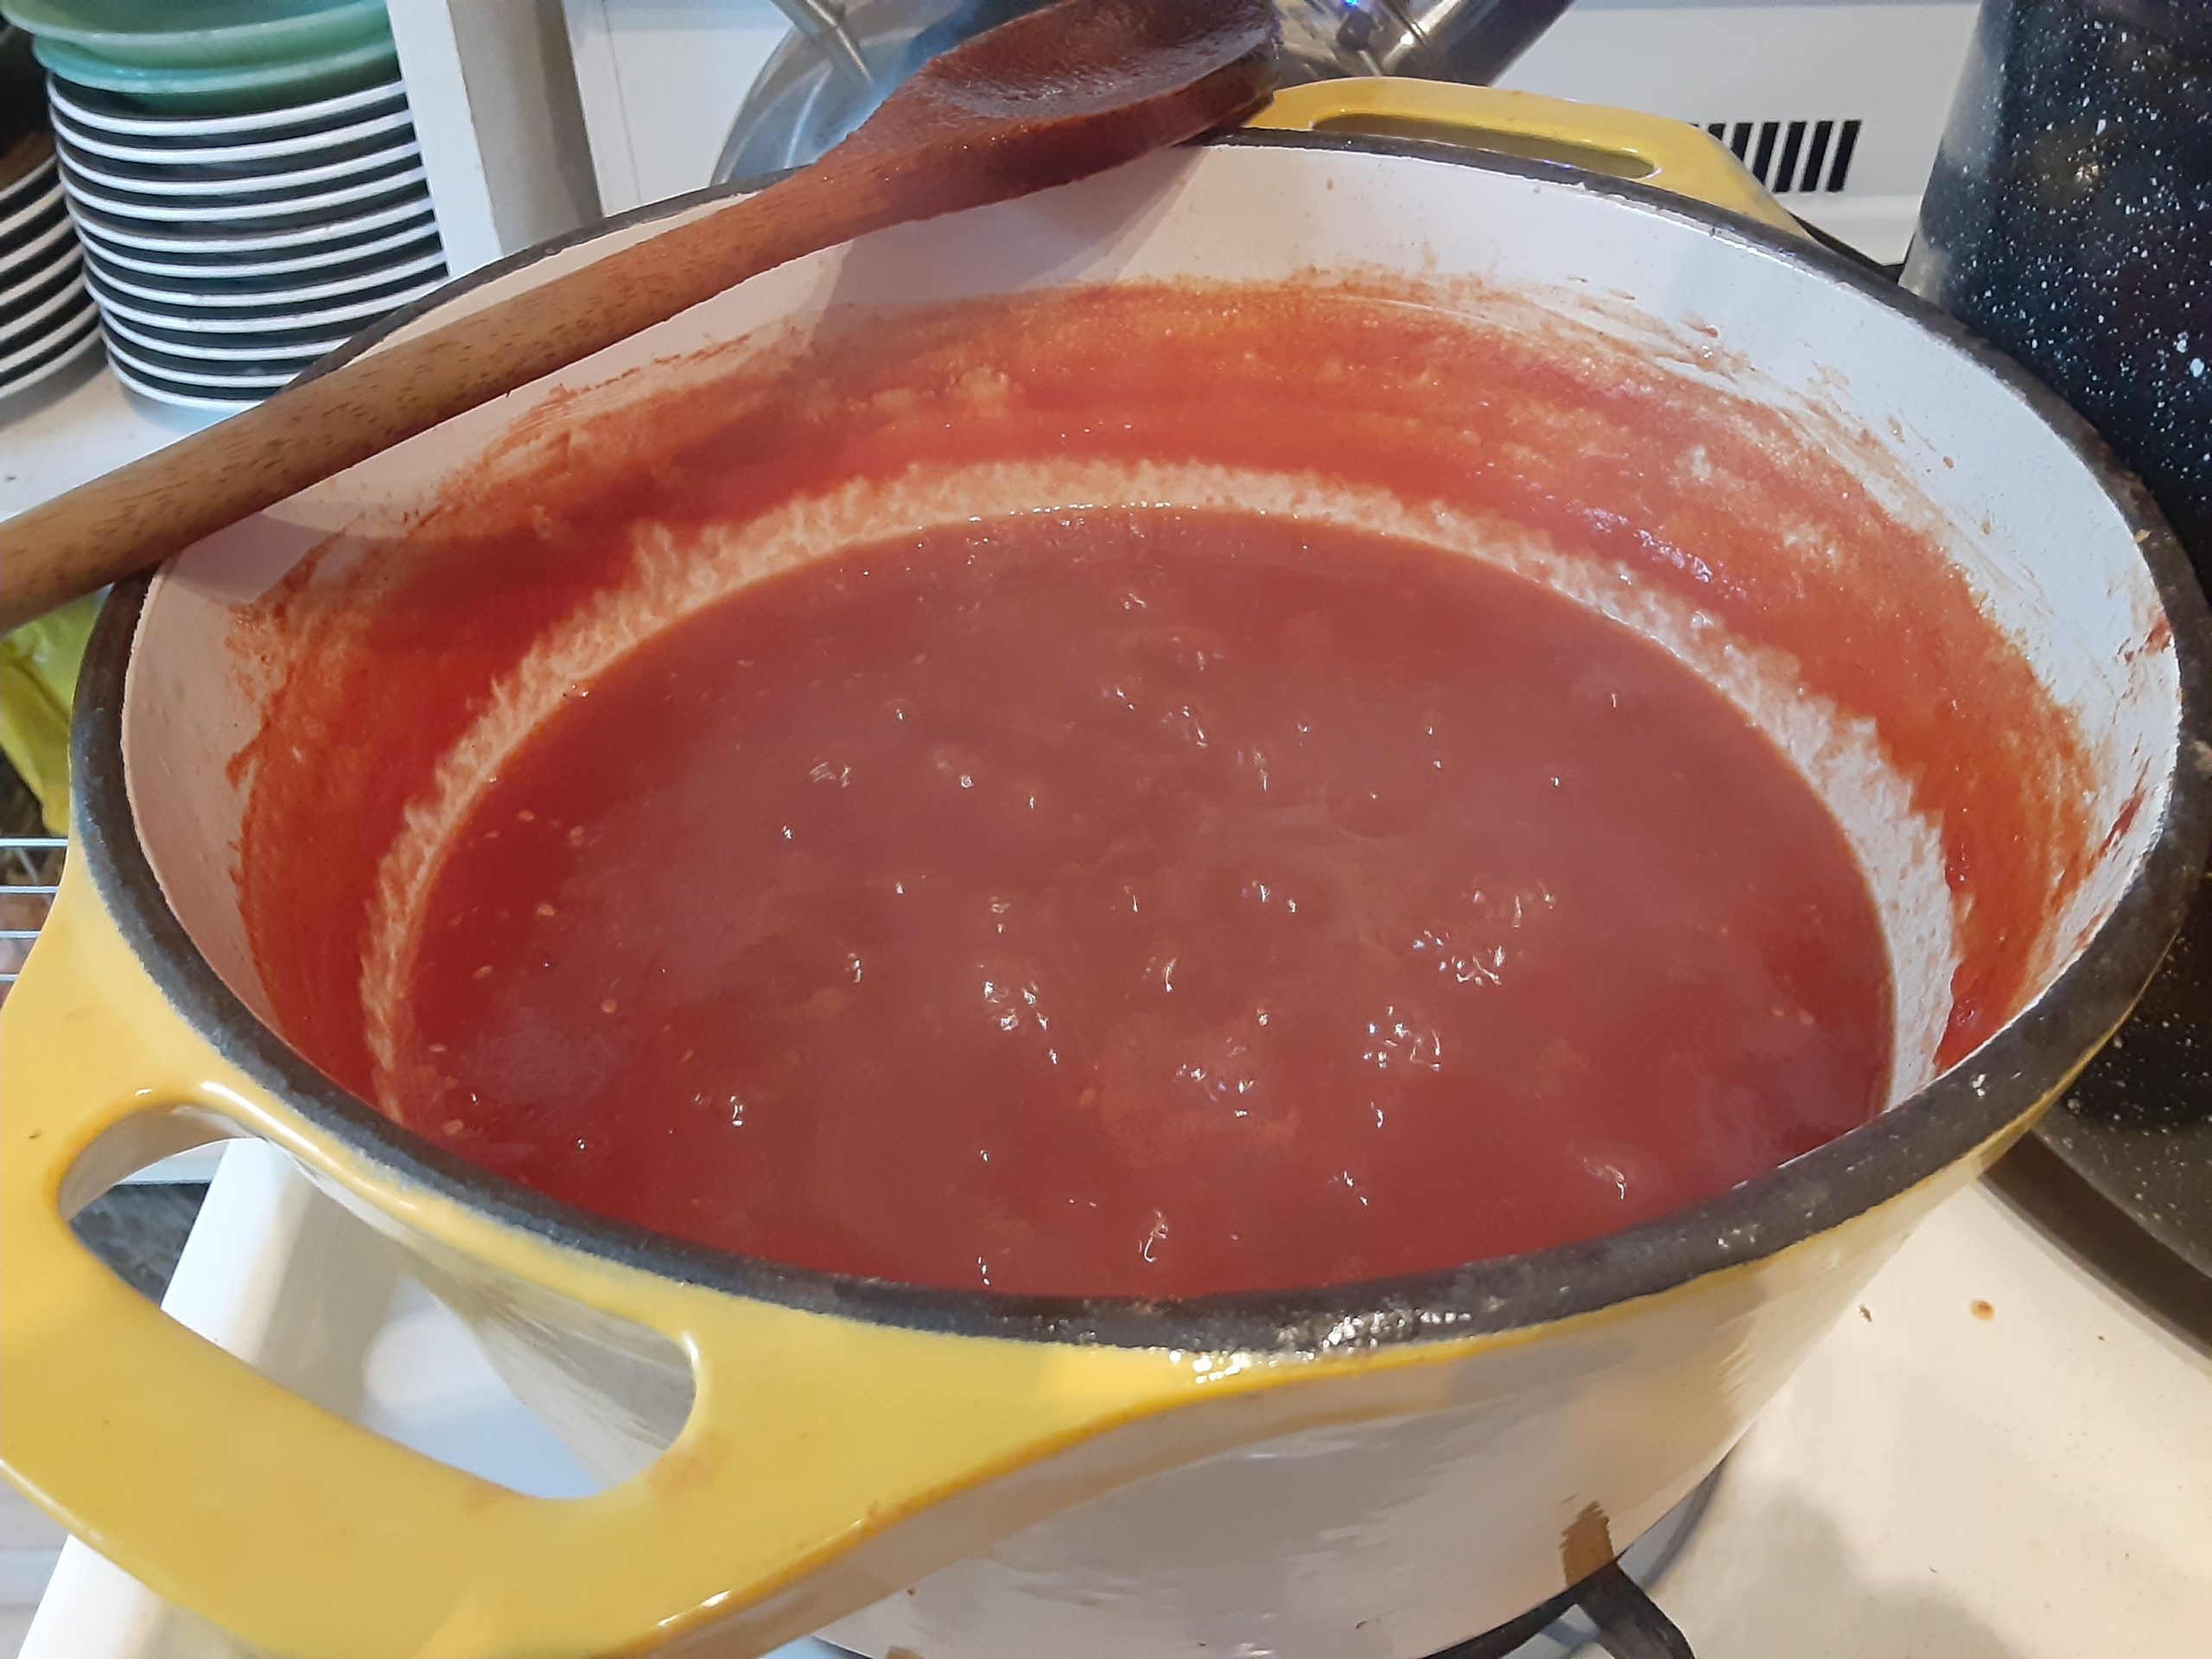
Into the pot they all went, accompanied by a mix of spices and sugar, where they simmered for just over two hours until, as the recipe recommends, they were reduced to “a sticky, jammy mess.” By this point the total quantity was reduced by more than half, and smelled otherworldly rich and savoury-sweet [note: the image below is a bit deceptive, as it was taken before the sauce became truly jammy: by that point it becomes a deep red and is quite thick]. I did not add any fresh or dried herbs because, as a first-timer, I wanted to work with the recipe as printed, but next time (and there will be a next time very soon!) I think I will add tarragon and/or fennel and possibly basil and oregano to the spices and ginger the recipe calls for.
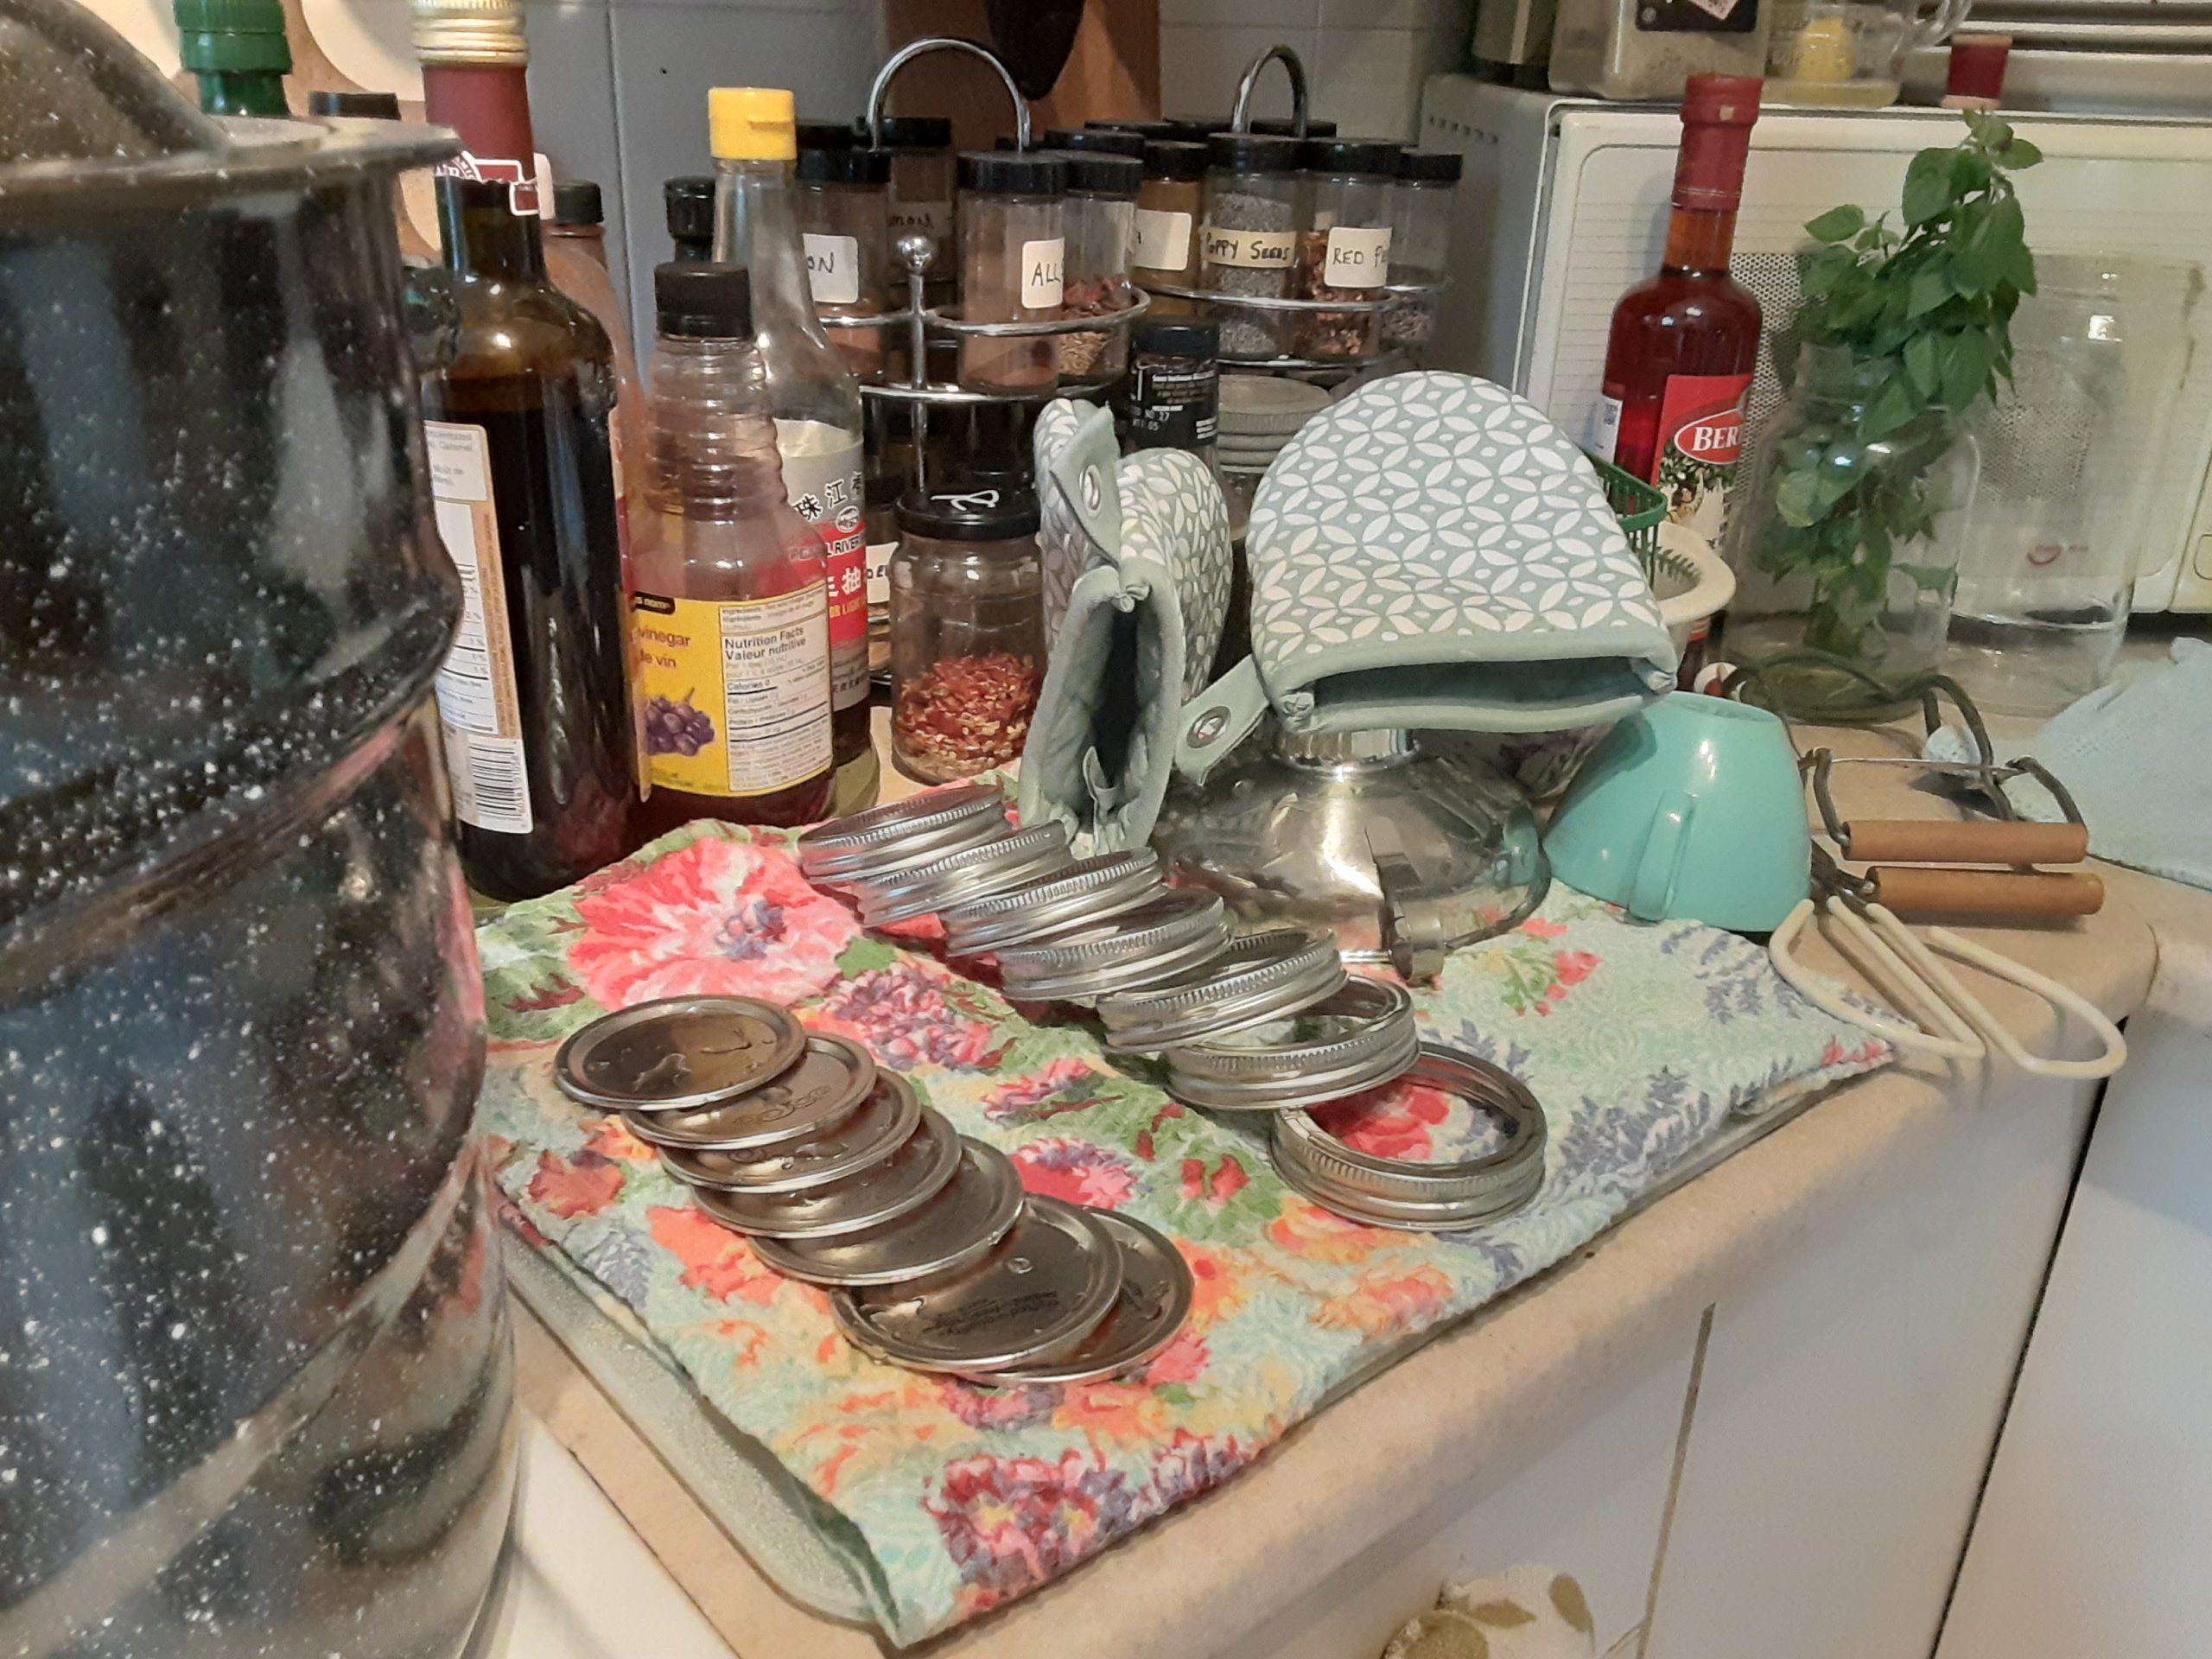
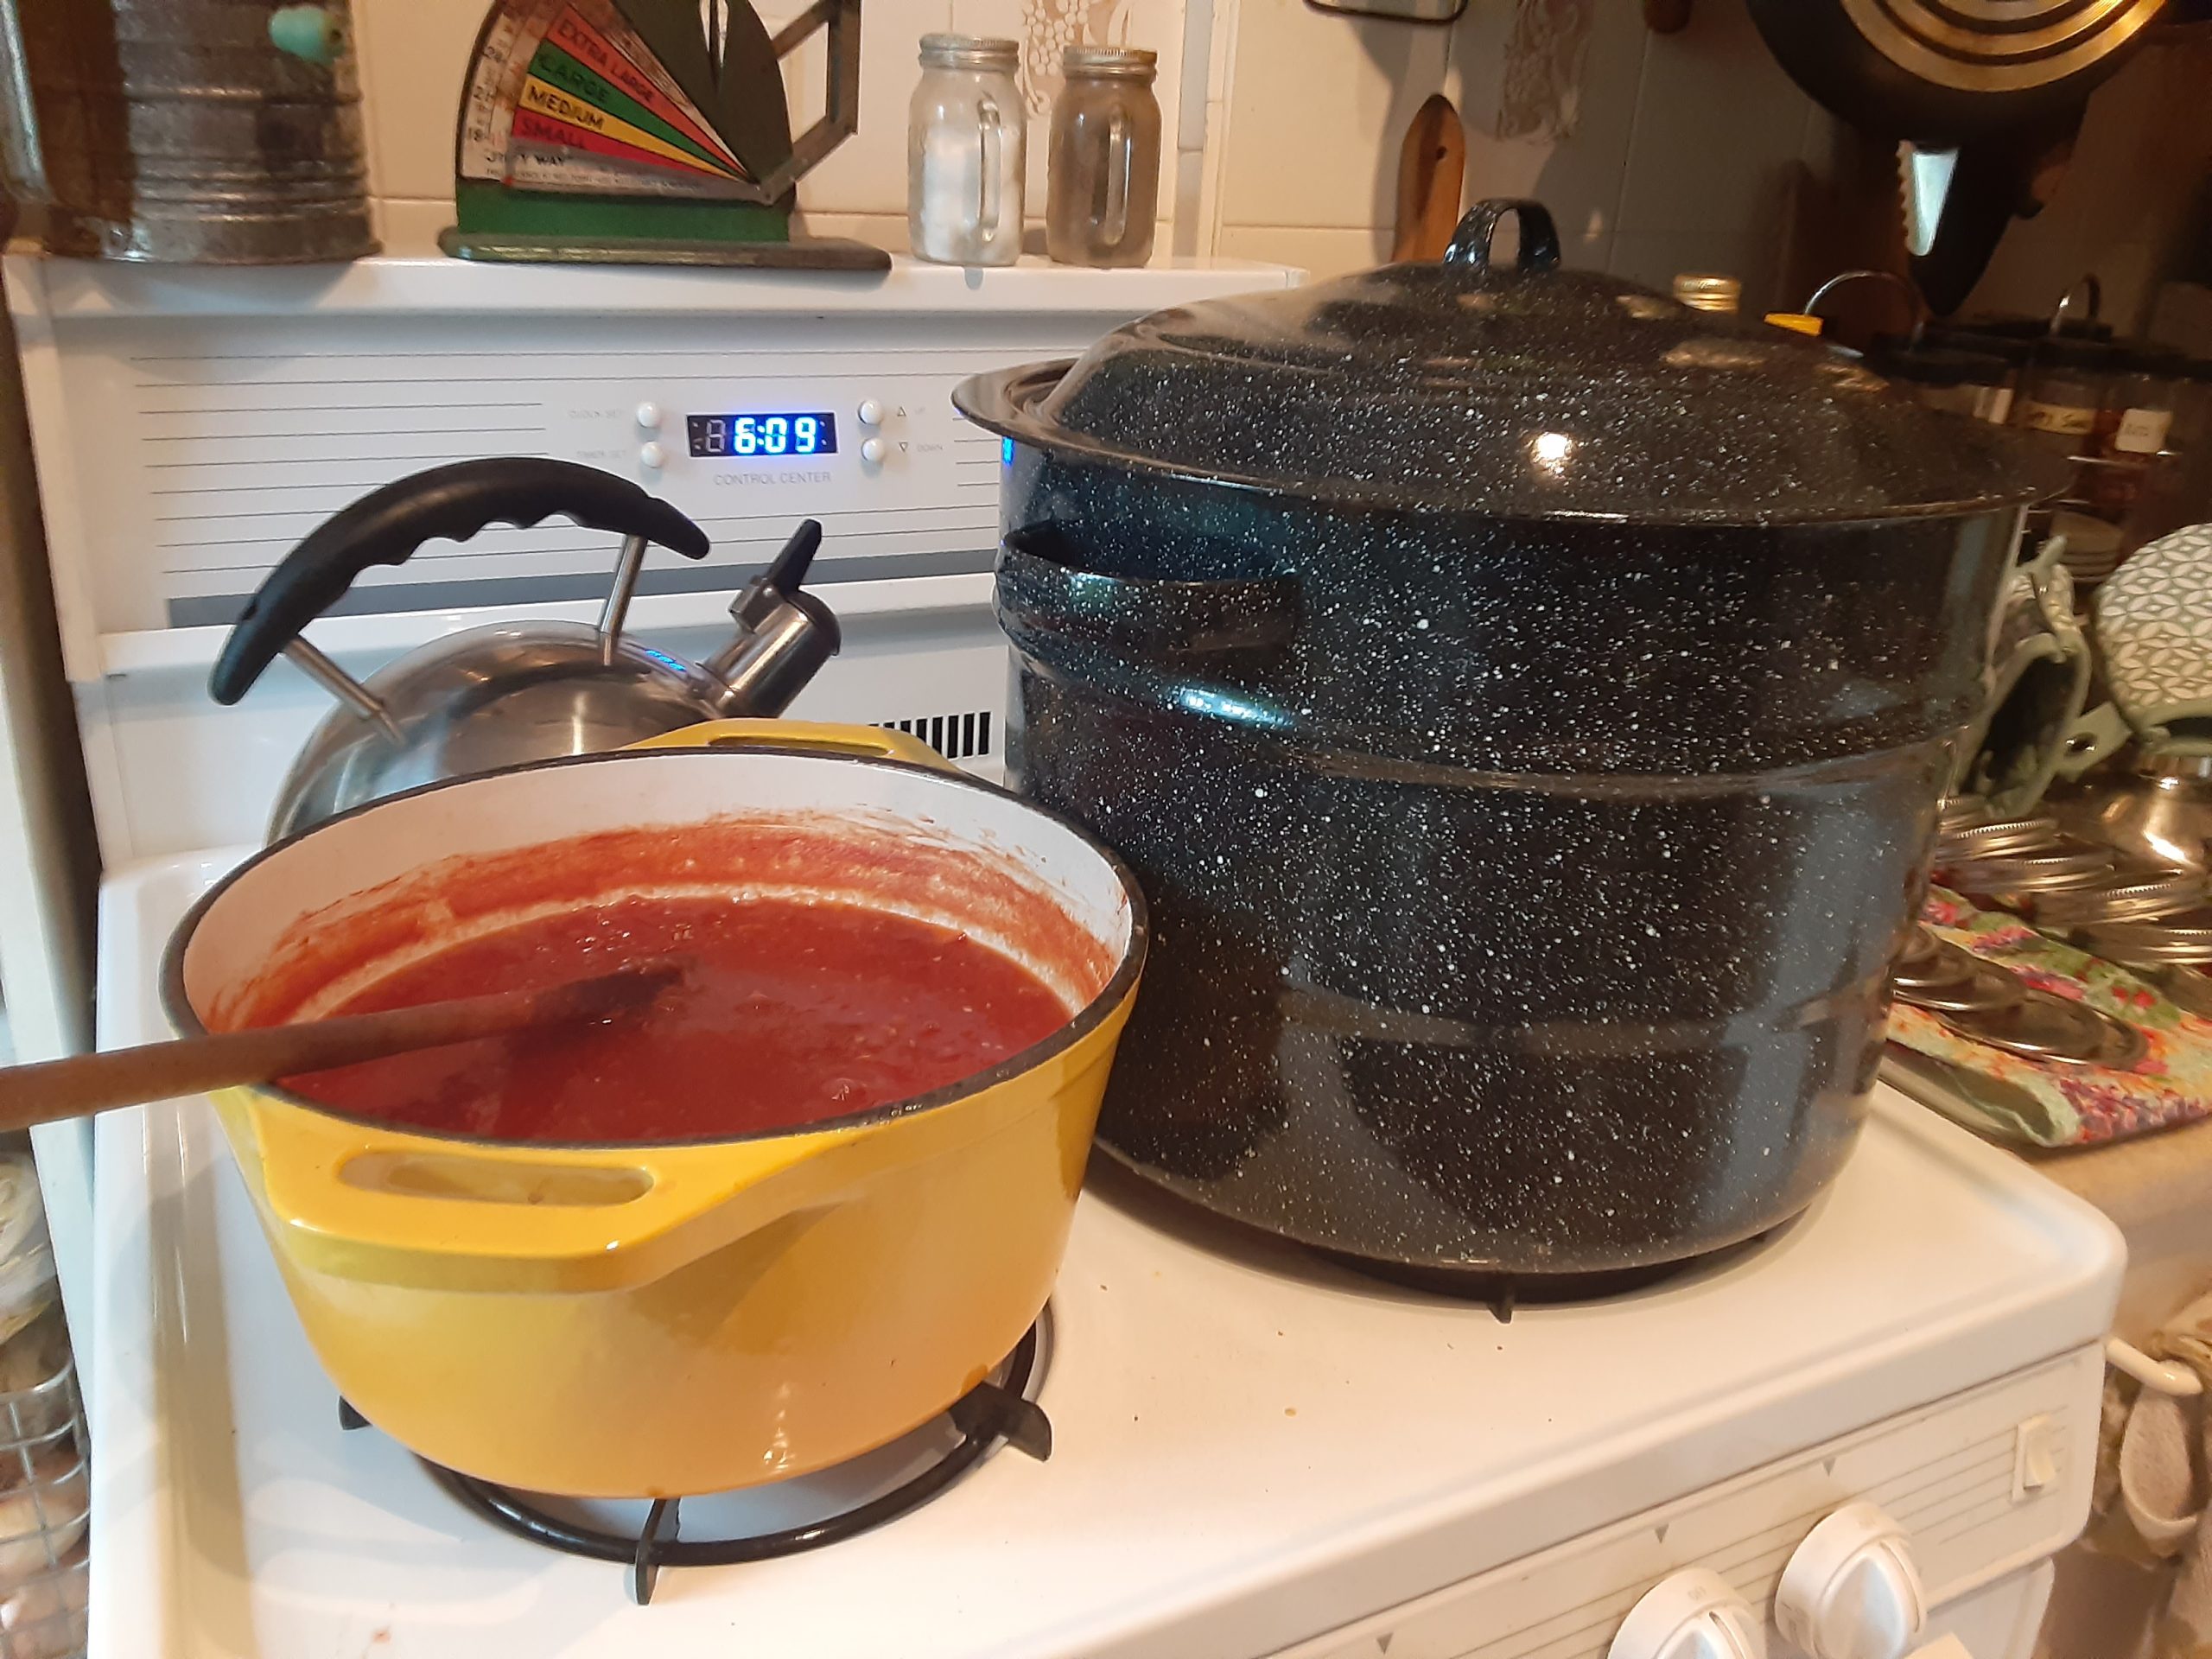
Here (below) is my preserving set-up. It’s a bit compressed as I am still using the second-floor kitchen in our formerly apartmentized house (next year, after we are done a few renovations, I hope to be able to use the downstairs kitchen, which is long and expansive and has great runs of counter space and room for the big farmhouse table I salvaged from an old shed two decades ago; not sure we’ll install another gas stove downstairs, though, which is a pity).
The best things about this preserving set-up are the big yellow enameled cast iron Dutch oven, a (brand-new!) score at Value Village a year or two ago, and my mother’s canning tools, which she gave to me a few years before she died. Every time I heft her old enamel canner onto a burner, or use that turquoise melamine cup to ladle cooked preserves into their jars, I can feel some trace of her hands on them.
At the end of about five hours of work (chopping, simmering, stirring, sterilizing and processing), I was able to fill five 500 ml jars exactly full, with only a couple of teaspoons left over for tasting. After 20 minutes processing time their lids all pinged satisfactorily, and I was left to consider how I will use them over the coming months.
Usually I give away most of my preserves–there are only so many jars of crabapple jelly one household can consume in a year–but these jars are staying selfishly in my pantry, unless they can be brought out to be shared with company. Next week, however, I hope to make another batch of tomato jelly, and ladle it out into smaller jars suitable for storing and giving away.
I hear tomato jam is incredible with well-aged cheese.
Working with words means one spends quite a lot of time turning them over and moving them around, fitting and refitting them together like stones in a wall. Thinking is a cerebral, iterative process that lends itself, oddly enough, to physical motion. Years ago in grad school, I used to write for an hour early in the morning before showering, and tease out ideas while shampooing my hair. While biking downtown to teach, I map out lectures between traffic lights, sometimes becoming so preoccupied that I’ll forget to turn down Yonge toward campus. I’ve done a lot of writing on trains, and out in the woods, and down along the lake. If I am not moving while writing, ideally there will be other things in motion: a river eddying around rocks, trees twisting in a wind, snow falling fast and slantwise.
A pandemic is a study in stasis, and after a year spent working from home there have had to be accommodations. After months spent livestreaming lectures from my office I’ve abandoned that space, opening up my laptop in the living room, or in the sitting room on the third floor, or even at an old secretary desk in the spare bedroom. In each room I’ll work for a while before getting up to check the fridge, or look out a window, or check the mail. A neighbour comes out of her house. The recycling bins need bringing back in. Hoisted by cherry pickers, city crews are trimming street trees. A cat wants out. A cat wants in.
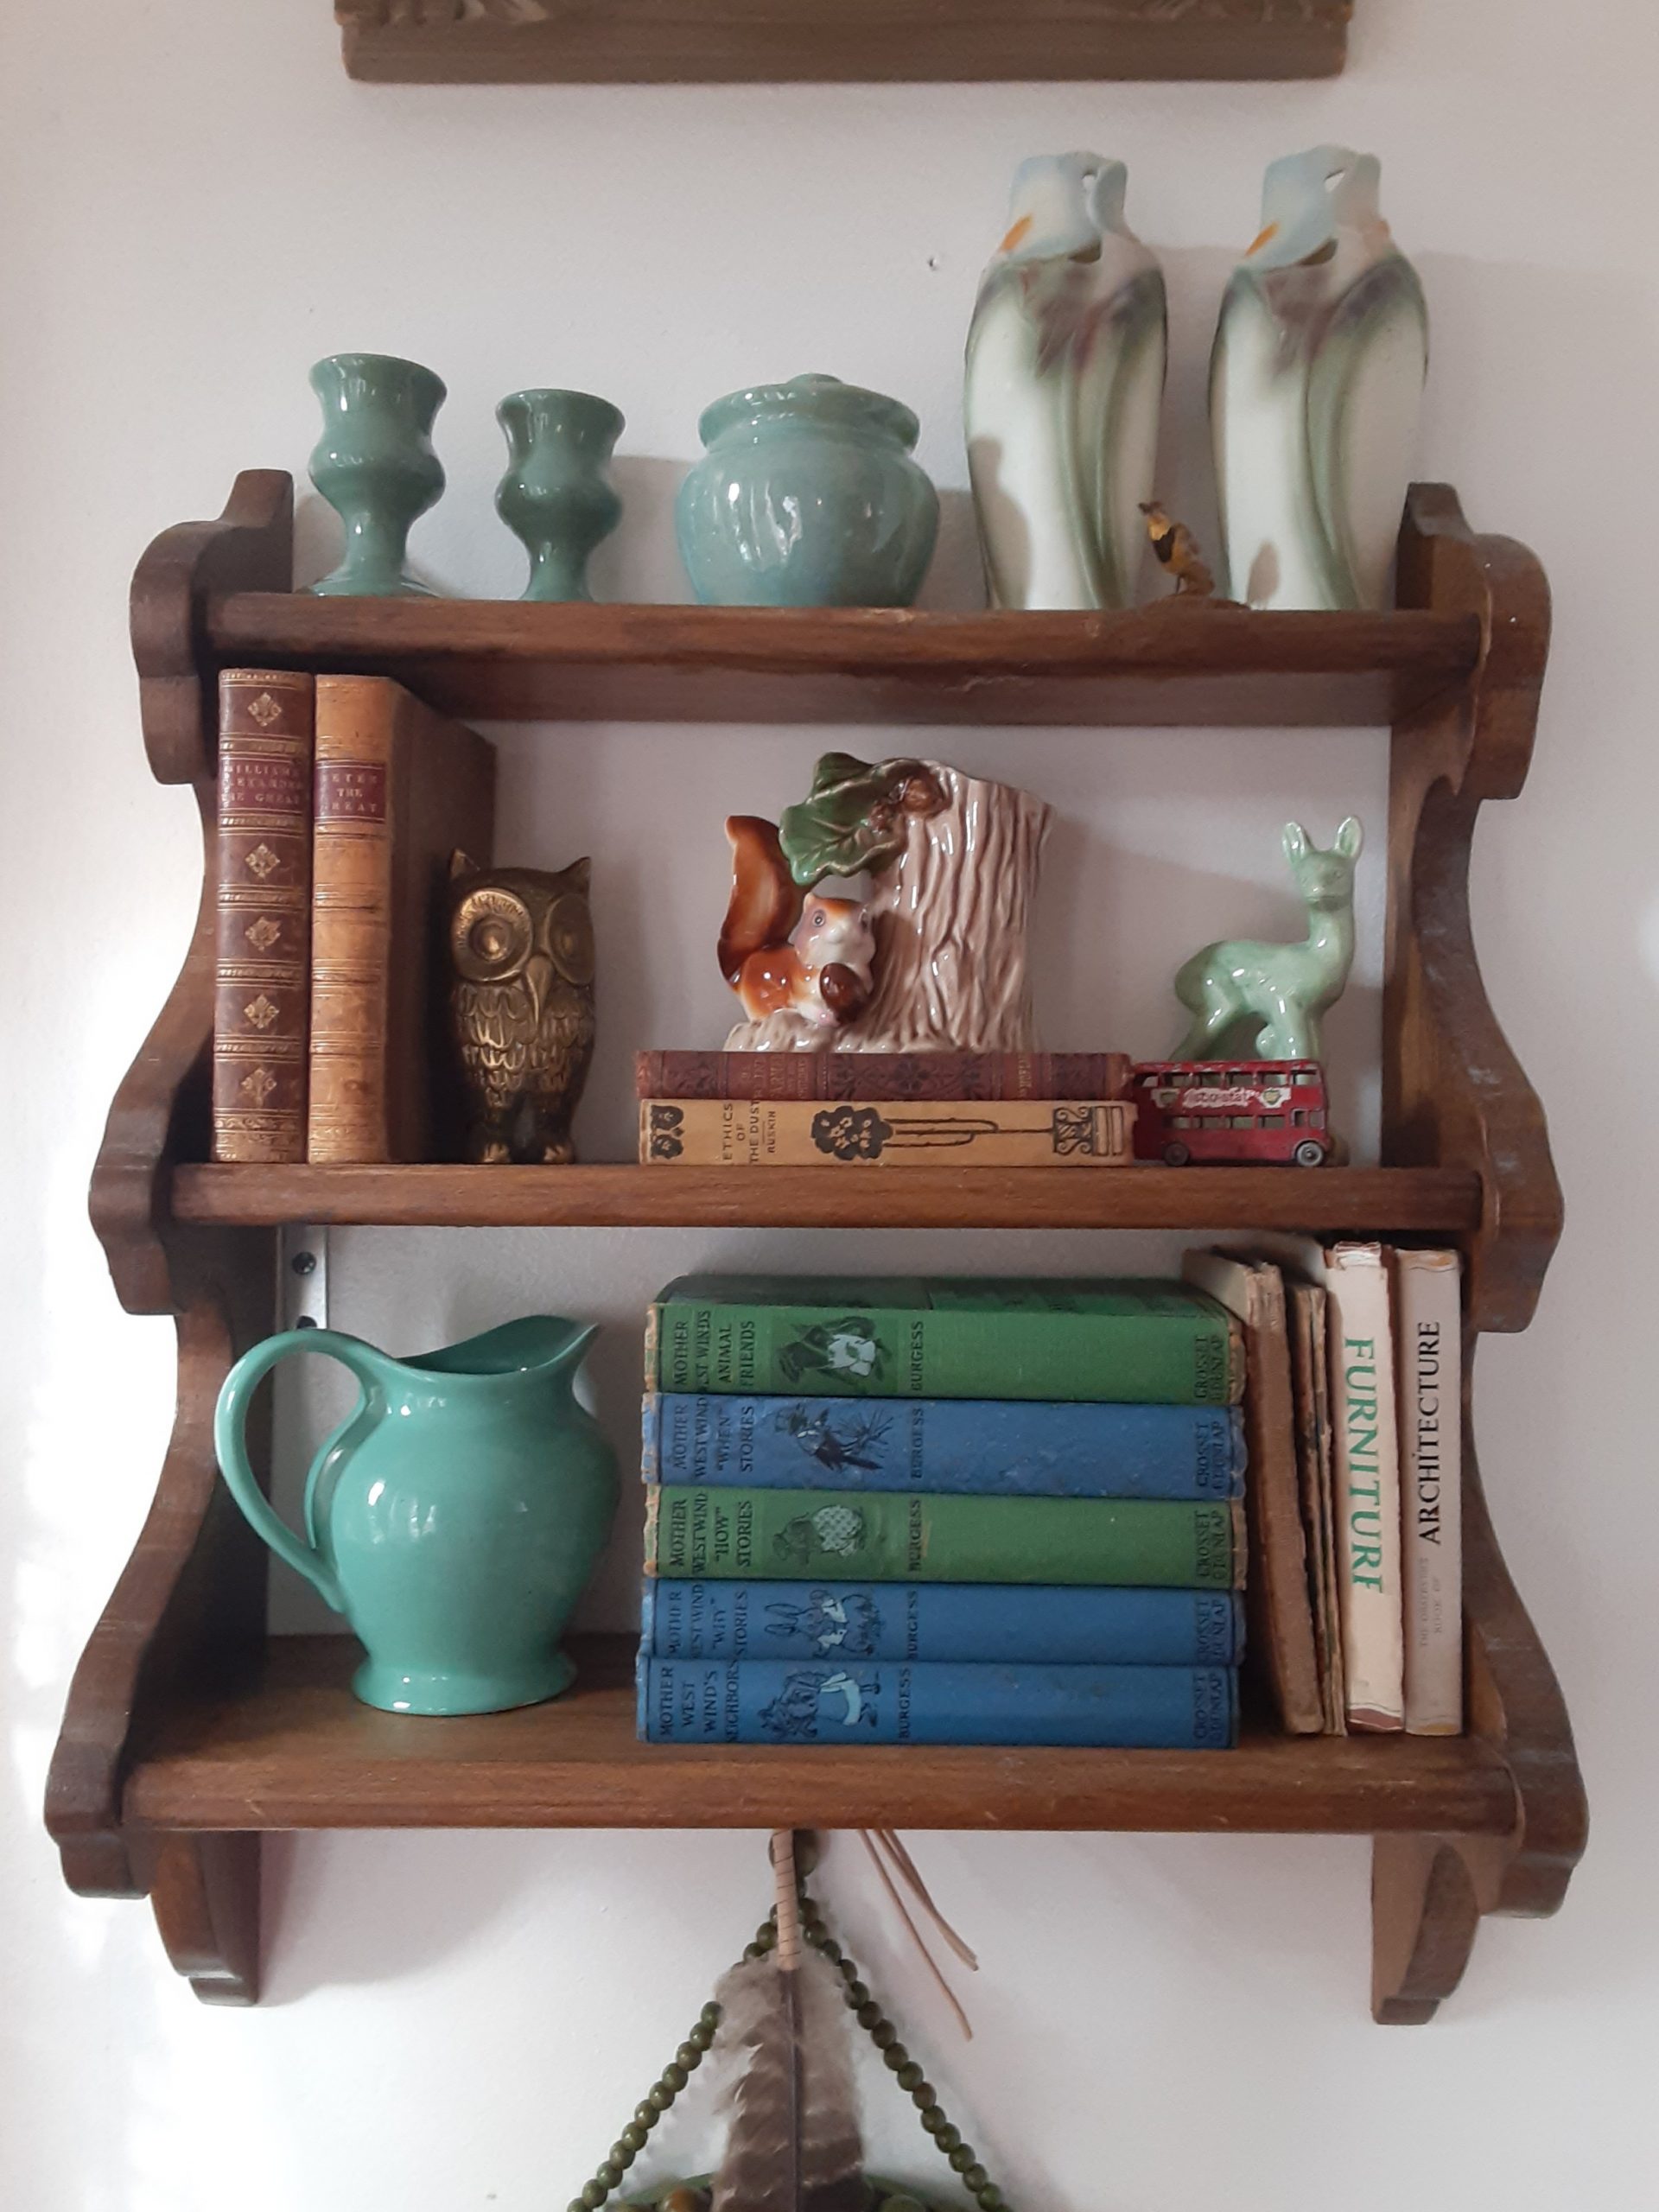
In the house, winter light illuminates the undersides of things, and so I get up to look. This wooden shelf, hung in a corner by the bay window, glows between snow squalls in the pewter afternoon light. There is a story to every piece here. The shelf itself I found discarded at curbside around the corner five or six years ago. It is handmade, probably a project piece made from instructions in a DIY magazine published not long after the War. The sage-coloured candlesticks, jam pot, carved wooden bird and vases are from my mother.
I bought the two leather-bound books on the middle shelf for a dollar each at an Eastern Ontario yard sale many years ago: one (published in 1829), is a life of Alexander the Great; the other (dated a decade later) a life of Peter the Great (the volume on Alexander the Great has a folio-sized fold-out map of the Middle East and Central Asia). I found the brass owl and squirrel figurine on the shelf at Value Village. The two books lying on their sides are fascinating. The first, John Ruskin‘s Ethics of the Dust: Ten lectures to Little Housewives on the Elements of Crystallization, is a Socratic-voiced manual of geology, minerology … and metaphysics. Ruskin was a leading Victorian thinker who was influenced by Darwin and very much interested in education (including the education of women) and independent thought. The other volume, The Blind Farmer and his Children, is a nineteenth century ‘improving’ novel originally published in 1817 (my copy “awarded to William Meikle as a prize for regular attendance,” by teacher Agnes Morrison on 27 June 1872). Ethics of the Dust was a gift from my mother; I found The Blind Farmer and His Children among her books after she died. The green china deer came from the Leslieville Flea; the double-decker bus from an eastern Ontario flea market.
On the bottom shelf are my Mother West Wind books from childhood, some little books I like to look at (The Observer’s Book of Furniture, The Observer’s Book of Architecture, two ‘Mr. Cuthbert’s’ gardening guides from the early 1950s, and A Flower Fairy Alphabet.), and a small green pitcher I spotted on the shelf a year ago at Value Village and left there, regretting the decision as soon as we left the store. A week later it was still there, and came home with me.
I look upon these treasures, illuminated in the pewter light. The snow squall ends, the light shifts. It’s time to return to work.
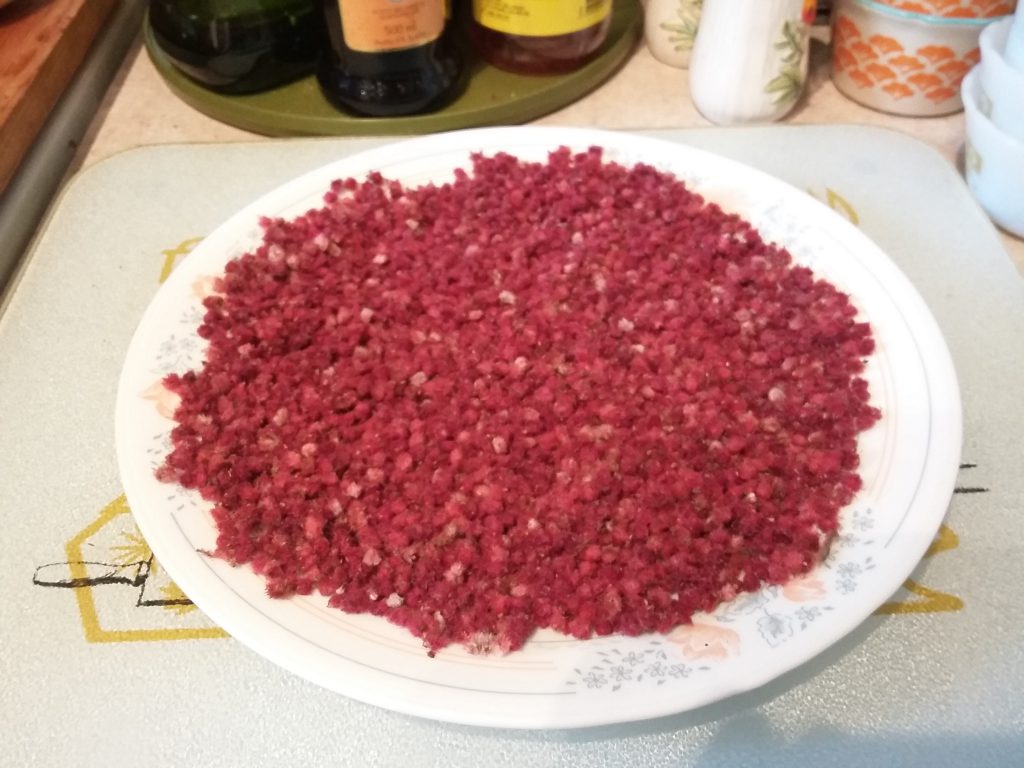
A few days ago, while preparing staghorn sumac to dry for the winter, it occurred to me that sumac–whose tart berries, processed into a powder, are popular in Middle Eastern cooking and were once culinary and medical staples in First Nation and subsequent settler households–could make an interesting jelly.
Staghorn Sumac
Staghorn sumac–Rhus typhina–is a medium-sized shrub native to the Great Lakes region. Thickets of sumac, easily identified by fuzzy, antler-like branches, bright conical drupes ripening in late summer, and brilliant scarlet fall foliage, are a familiar sight along Ontario waysides. There is a popular belief that sumac is poisonous, but most varieties are not toxic, and staghorn and other edible varieties of sumac have a very long history of culinary, medical and social-ceremonial use. Sumac is reportedly a very high source of vitamin C: its most common traditional culinary use in North America is in a tart, cooling lemonade-like drink. In Middle Eastern cuisine, powdered sumac is nearly ubiquitous as a spice or condiment, and is well known as a principal ingredient in za’atar, to which it bestows its dark red colour and tart citrus-like taste.
Medically, sumac is reported to be a useful topical antiseptic and coagulant, and to have been widely used in traditional First Nations medicine. Sumac is also reported as an important ingredient in kinnikinnick, an herbal preparation used in social as well as ritual smoking. Among the print sources I have consulted so far, Robert K. Henderson’s The Neighbourhood Forager (Key Porter, 2000) offers the most detailed inventory of sumac’s reported traditional medical uses.
Sumac also has high concentrations of tannins, and the leaves and bark of certain sumac varieties have been widely used in Mediterranean leather-making for many centuries. In his fascinating, excellent book Make Ink: A Forager’s Guide to Natural Inkmaking (Abrams, 2018), Jason Logan passes over sumac in favour of black walnut for brown ink and pokeberry for a true red, but staghorn sumac’s ready accessibility, high tannin content and relative (certainly to the reportedly toxic pokeberry he chooses for its reliably crimson ink) make it a good option for experimentation with colour. Toronto container gardening expert Gayla Trail has reported success with using sumac berries to produce red dye, and the US Forest Service includes sumac as a traditional red dye source in its ethnobotany database.
Note: I am a geographer, not a botanist, and have an amateur-level knowledge of sumac, its uses, potential allergy interactions (sumac is reportedly related to the cashew plant and at least one source links it to mango) and potential risks. Before using sumac or any other wild plant, it is important to do your own research relying on high quality published sources.
Note also: In the Toronto area, sumac drupes usually reach peak ripeness in August or early September. The drupes are best if picked before rain. To avoid potential particulate contaminants from fuel exhaust, it is best to pick sumac away from busy highways. If you wish to harvest sumac, please trim the drupes carefully with a sharp blade rather than tearing them from the tree. Take only a few drupes from each tree, and leave plenty for wildlife.
Wild Apple Sumac Jelly
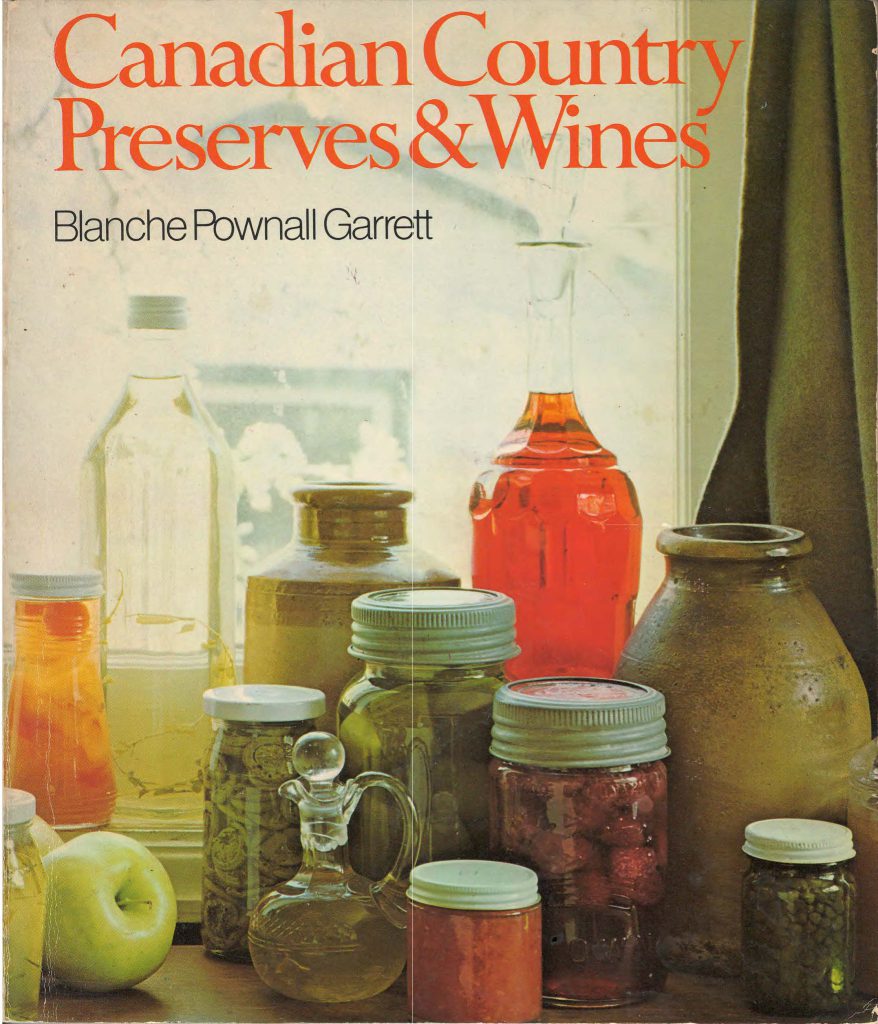
Sumac jelly references in published works are uncommon. My sumac jelly recipe is a modified version of a one published in Blanche Pownall Garrett’s Canadian Country Preserves & Wines (James Lewis & Samuel, Publishers, 1974), a book focusing on early settler foodways in Canada and early Canadian recipes. Sarah B. Hood’s excellent preserving guide, We Sure Can (Arsenal Pulp press, 2011), also includes a tested sumac jelly recipe that uses apple pectin, a natural alternative to commercial pectin. [Her book also includes an easy-to-make apple pectin recipe.]
Apple sumac jelly has a bright claret colour and a tart taste. The batch I made is delicious on sourdough toast. I plan to use it in place of cranberry sauce at Thanksgiving, as it seems to me it would suit turkey or chicken wonderfully. It would also be an ideal accompaniment to cheese.
Please note that I am an amateur and my recipe is based on a first-time experiment. For next summer’s batch I will almost certainly adjust it. If you are interested in trying sumac jelly, I recommend starting with the tested recipe in We Sure Can.
Ingredients
Sumac berries, 8 cups (from 8 to 12 whole drupes) Wild or tart apples, 4 cups, stemmed and quartered Water, about 12 cups Commercial pectin crystals, 1 package (I used Certo) Granulated sugar, 8 cups Lemon juice, 1/4 cup (this may be optional, as the apples and sumac seem sufficiently acidic for food safety, but I included it to be sure)
Instructions
** This recipe makes 13-15 125 ml jars of apple sumac jelly (or 7 to 8 235/250 ml jars). It relies on well-established hot water canning techniques and easy-to-obtain equipment.**
Remove sumac berries from drupes. This is easily and fairly quickly done by drawing a fork downward through the drupes until the berries pop off. Some recipes recommend boiling the drupes whole, but it is my understanding that the stems are higher in tannins than the berries, and it is also easier to boil and process the sumac berries off the stem. A large sumac drupe can produce about 1 cup of berries.
Prepare jars in water bath canner: Wash jars and two-part lids in warm water with soap (I use Bernardin–Ball in the US–jars and lids with screw bands, which are readily available and highly reliable). Place jars in canner. Cover jars with two inches of water and bring to full rolling boil. Boil for 10 minutes. After boiling, turn off heat. Leave jars in, and drop in lids and screw bands. Remove just before filling with jelly. [Note: canning supplies, including large, non-reactive pots, jars and lids, funnels, jar lifters, magnetic lid lifters, etc. are sold inexpensively at Canadian Tire.]
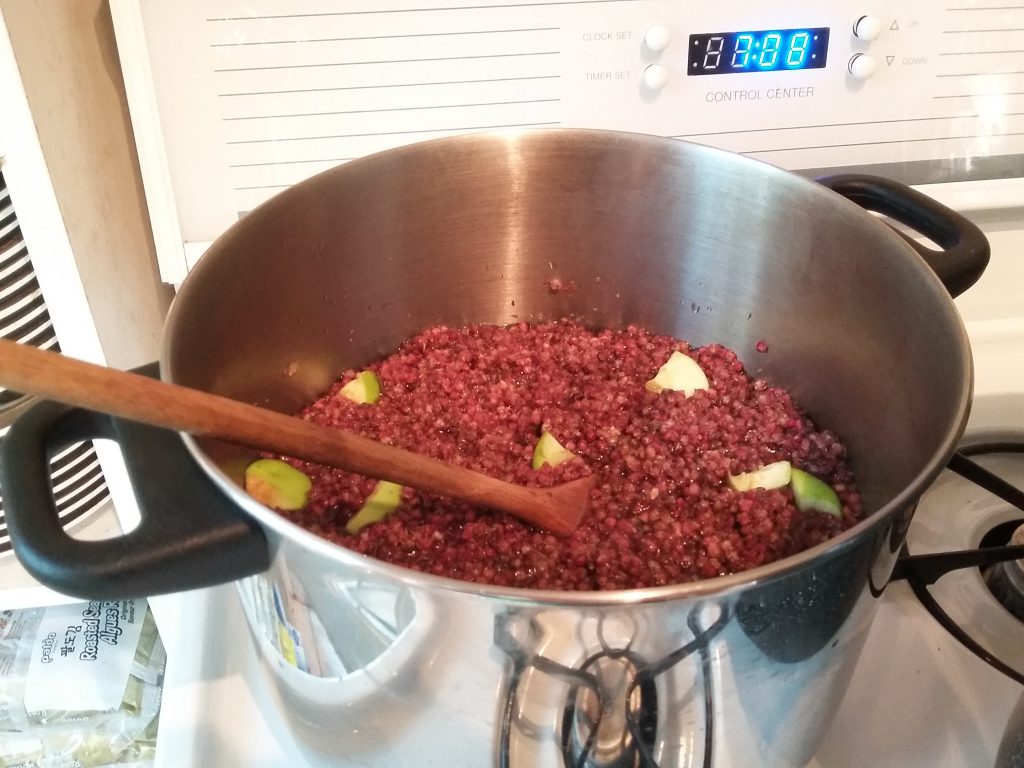
Place sumac berries and apples in a large, *non-reactive* (e.g., stainless steel) pot. Cover with water, cover pot, and simmer until apples are soft, 15 to 20 minutes, stirring occasionally.
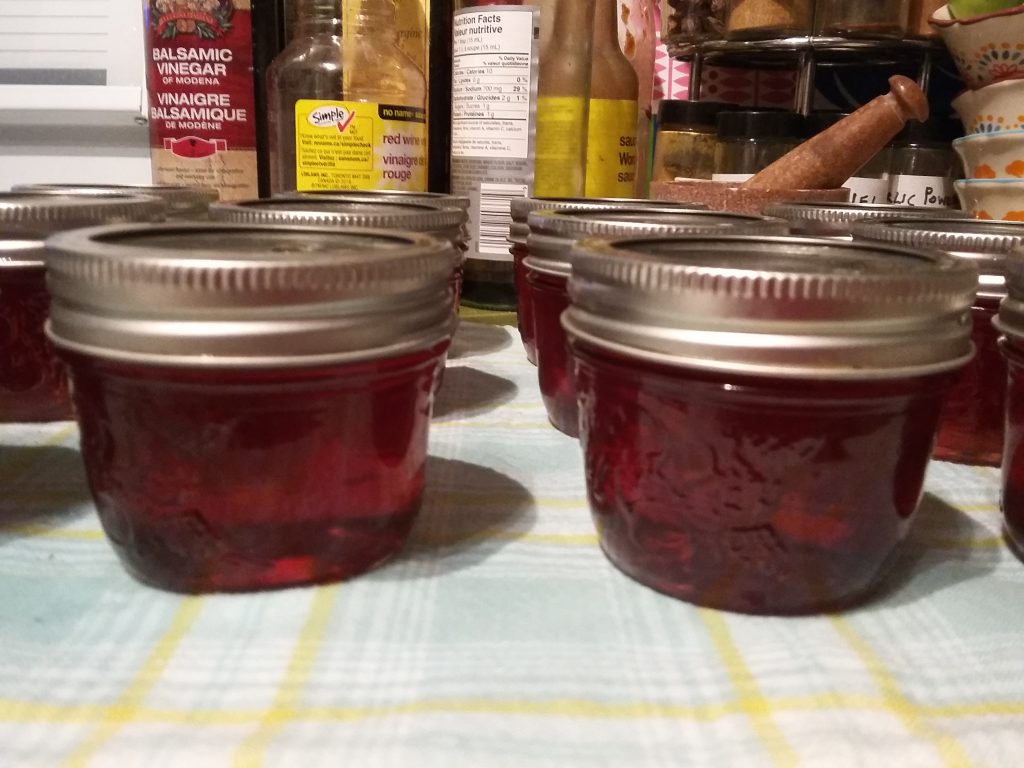
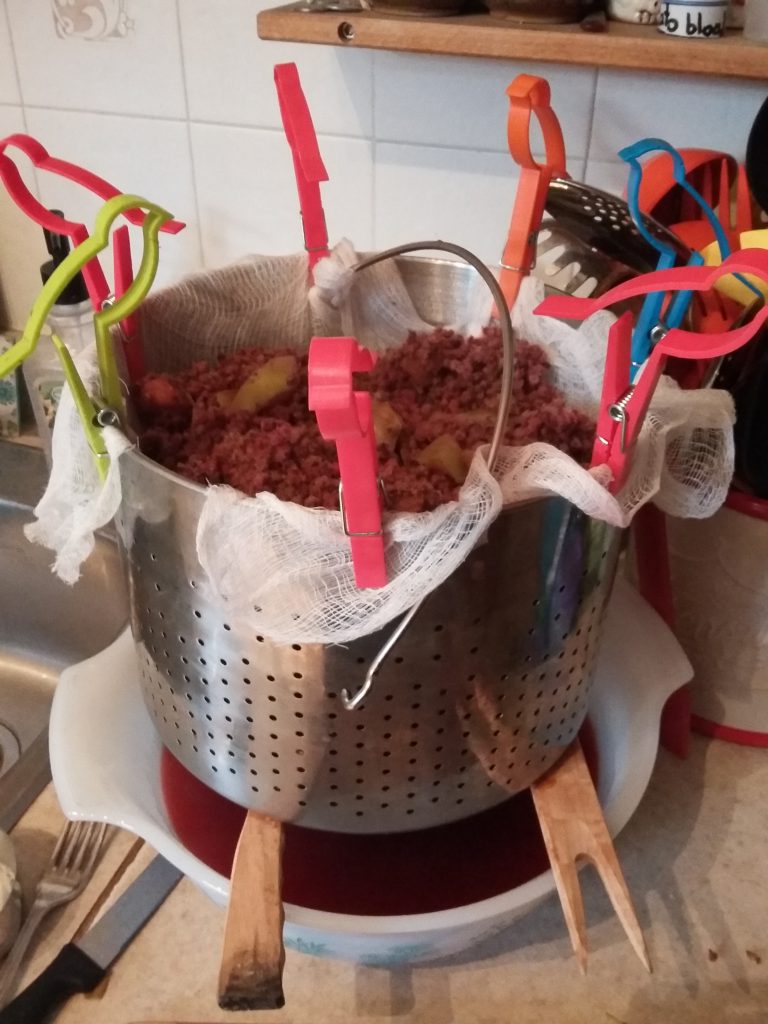
Using a sieve or colander lined with cheesecloth or a jelly bag, strain out liquid into a large bowl. Do not press or squeeze as it may make the jelly cloudy. If fine sumac hairs flow through the cheesecloth or jelly bag, sieve a second time. This should produce about 7 cups of apple-sumac liquid, a deep burgundy in colour.
Measure out 8 (yes, eight) cups of granulated sugar. [Note: if this seems like a lot of sugar, consider how jams and jellies are used: a spoonful at a time. Amortized over a year, especially if your diet is mainly healthy, this is a small quantity of sugar to add to your day, and is a lot less harmful than the high fructose corn syrup found in most commercially processed foods. If it still seems like a lot, low-sugar commercial pectins are available, as are homemade pectins. I have not tried them and cannot report on their efficacy at this time. I am not a fan of artificial sweeteners, however.]
Measure out 7 cups of liquid and pour into large, non-reactive pot (it is worth rinsing the pot first to remove any stray sumac fuzz). Stir in one package of pectin crystals (I used one 57 gram package of Certo brand pectin crystals). Bring to boil.
Pour in 8 (yes, 8!) cups of granulated sugar and 1/4 cup lemon juice (the lemon juice may be optional, as tart apples and sumac are high acid on their own) and return to a boil that cannot be stirred down. Boil hard for one minute or until the jelly’s set or gel point is reached (a candy thermometer showing 220 degrees Fahrenheit is one method; pouring out a few drops onto a cool plate to see if they ‘gel’ is another).
Remove and drain sterilized jars. Fill carefully with jelly mixture using canning funnel, leaving 1/4 inch head space. Using a non-reactive stick (I use a wooden chopstick), make sure there are no air bubbles trapped in the jelly. Carefully wipe rims of any stray drops (which may interfere with sealing). Carefully place lids on jars without touching their underside (this is why a magnetic lid lifter is a valuable tool). Spin on screw bands until resistance is met but do not overtighten.
Place jars in hot water bath. Jars should not be touching or tilted (when I make a larger bath of jam or jelly, I process the jars six or seven at a time, to ensure they all seal properly). Place lid on pot. Bring to a full-rolling boil and boil for 10 minutes (at elevations above sea level, you will need to boil longer: there are many guides online for boiling times at various elevations). After 10 minutes, turn off heat.
Using jar lifter, remove jars from hot water bath. Do not tilt, and do not touch or press lids. If the jars have sealed, the metal lid should ‘pop’ down audibly (this may take a few minutes). Do not touch for at least 12 hours. Jars that do not seal should be refrigerated and used within a week or two. Sealed jars should keep for a year, subject to the usual cautions about preserved foods.
Note: ‘traditional’ canning techniques involving paraffin wax, turning jars upside-down or using certain kinds of jars are no longer recommended as they do not meet contemporary food safety guidelines. The Government of Canada has published a very good overview of home preserving safety guidelines.
And also note: only low acid foods–foods whose combined acidity is less than 4.6 pH–can be preserved using water bath canning techniques. According to my research, apples usually have a pH under 4, and sumac has a low pH of about 2.5.
Sumac for Za’atar
My own introduction to sumac as an edible plant came in a recipe in a Middle Eastern cookbook that called for za’atar. I make fairly extensive use of (mainly European and North American) culinary herbs and spices, but had never heard of za’atar. Za’atar, it turns out, is quite easy to make at home–provided one has access to dried sumac. Fortuitously, I learned about za’atar in the early fall, when ripe sumac were still at their peak, and simply biked down to the lake to pick a few drupes for processing. Now, late every summer I pick a dozen or so sumac drupes to preserve for the year ahead.
Ingredients for dried Sumac
Ripe sumac drupes, about 8 to 12
Instructions
Strip berries from stems. Air dry in a wide, shallow dish for 1 to 2 weeks, turning occasionally.
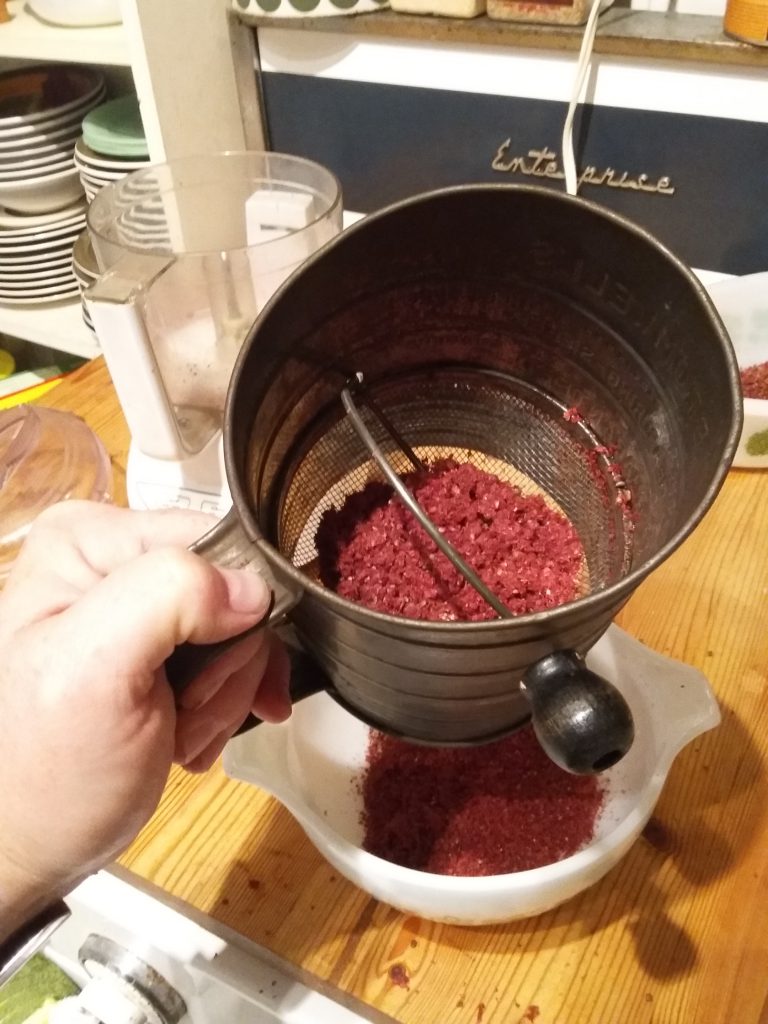
In a food processor, pulse berries to separate fluff from seeds.
Using a food mill or sieve, separate berries from seeds. When completely dried, store in an airtight jar for up to a year.
For Za’atar
Note: dried sumac can be used on its own as a flavouring or condiment. In my experience its flavour becomes richer and more complex with storage. I use it whenever I make a Middle Eastern dish, and especially like to swirl it into the yoghurt sauces and dips that accompany many such recipes.
There are numerous recipes for za’atar available online. Za’atar and sumac are also available at many larger spice shops. I have read that in Israel and Arabic countries, most households will prepare their own blend, so it is worth experimenting.
Ingredients
Dried sumac Oregano Marjoram Thyme Sesame seeds Salt
Instructions
Grind sesame seeds in a food mill or mortar & pestle.
Add additional ingredients and grind together.
Store in a sealed container.
Sumac for Drinking
There are two schools of thought on ‘sumac-ade’ or ‘sumac lemonade.’ The first suggests boiling the sumac berries with sugar to produce a syrup-like infusion. The second recommends against boiling sumac on the grounds that boiling will release tannins and produce a bitter taste. Interestingly, both techniques involve about the same quantity of sugar and in my experience produce a similar-tasting sumac drink. Simmering takes a bit longer, but ensures the sugar is fully dissolved and produces a richer, more complex, syrup-like flavour. But for a quick sumac drink, processing sumac berries and then infusing them into cold water or a pitcher of iced tea or lemonade seems a perfectly fine plan, and will likely preserve much of sumac’s reportedly high vitamin C content, likely degraded by heating.
For a ‘cold-pressed’ sumac drink
Sumac berries, 1 cup Sugar, 1/4 to 1/2 cup (or to taste) Water, 1-2 cups (for blending); plus enough to fill a pitcher afterward
In a blender, process sumac berries and water together until sumac berries are fully separated from seeds and liquid is quite dark. Strain liquid through muslin into a pitcher. Add sugar and water to fill pitcher. Stir well and serve.
For a boiled sumac syrup
Sumac berries, 2 cups Sugar, 1-2 cups water, about 4-6 cups Optional: 1-2 tart apples, quartered
Place sumac berries in a non-reactive pot. Cover with water and add sugar. Bring to boil; lower temperature and simmer for about 10 minutes until berries are softened and mixture is dark and aromatic. Let cool. Strain liquid through cheesecloth to separate seeds and sumac hairs. Refrigerate. If covered and refrigerated, syrup should keep for up to a week. Add 1-2 tablespoons to a glass of water, or 1-2 cups to a pitcher for a sweet-tart drink rich in vitamin C.
Sumac Mead
Staghorn sumac is rich in malic acid, making it an ideal if unexpected candidate for wine-making. I have never tried it, but this recipe for sumac mead sounds delightful and even easier than making wine. I hope to try it out next month.
A Note on Foraging
I am so pleased with the results of my apple sumac jelly experiment. For the last several years I have made increasing efforts to use local, wild and untended plants that tend to be overlooked or even unwanted in urban settings. For years we have collected mulberries from street trees to make into ice cream or baked goods, and this year for the first time I made (delicious, especially when swirled into plain Greek yoghurt) mulberry jam. Last fall I made crabapple jelly, which was incandescent and lovely in every way.
Although I grew up harvesting wild plants and learning about their uses from my mother, I am not an admirer of the contemporary ‘foraging’ movement as commonly practiced, as it seems to lack adequate awareness of the most basic principles of conservation, despite paying lip service to them.
One example of destructive foraging is the extirpation in many areas of wild leeks, or ‘ramps’ resulting from enthusiasts (or pickers for commercial sale) trampling delicate forest floors and pillaging entire groves of plants. The problem has gotten so bad that the Province of Quebec has banned the commercial harvesting of wild leeks and several US states have implemented protective legislation.
I have also seen this happen with fiddleheads, whose overharvesting has denuded entire river bottoms where they were once plentiful. This is not even a new problem: in the 1980s my mother would run commercial harvesters out of ravine beside our house, after they descended in droves with large garbage bags they’d hoped to fill for commercial sale.
There are, however, many plants, particularly in cities, that may be harvested sustainably and even positively. Garlic mustard, for example, is an invasive plant in Ontario whose leaves reportedly make excellent pesto. Garlic mustard grows readily in disturbed soil and in parks and woodlots: pulling the plants and eating their prepared leaves is a positive act of conservation.
Crabapples and mulberry trees are common street trees in Toronto, where I live. For the most part they are ignored, except when their fruit falls on sidewalks and elicits public complaints. Picking and using their fruit is an excellent way to positively rethink their presence in cities.
There are numerous good published guides to edible wild plants: I have listed some in the Sources section at the end of this post. If you do good research, and if you harvest carefully and sustainably, it is possible to enjoy the fruits of the wild city.
Some Sources
Berglund, Berndt and Clare E. Bolsby, 1971. The Edible Wild. Pagurian Press. [A very good, reliable guide to wild plants in Canada and the US.]
Coon, Nelson, 1957. Using Wayside Plants. Hearthside Press. [A very good book on using wild plants for food, medicine, art, and crafts. If you can find any edition of this long out-of-print book second-hand, you are in for a treat.]
Garrett, Blanche Pownall, 1974. Canadian Country Preserves & Wines. James Lewis & Samuel. [A book exploring traditional Canadian foodways and recipes.]
Gibbons, Euell, 1962. Stalking the Wild Asparagus. Alan C. Hood & Company. [The ‘classic’ forager’s guide; highly worthwhile reading although not always reliable, and I have a few issues with material that appears borrowed from other published works.]
Henderson, Robert K., 2000. The Neighborhood Forager. Key Porter Books. [A very good introduction to urban foraging.]
Hood, Sarah B., 2011. We Sure Can: How Jams and Pickles are Reviving the Lure and Lore of Local Food. Arsenal Pulp Press. [An indispensable guide for anyone new to home preserving. Includes many tested recipes.]
Logan, Jason, 2018. Make Ink: A Forager’s Guide to Natural Inkmaking. Abrams. [A simply wonderful book about using wild, native plants to make inks.]
Moncrieff, Helena, 2018. The Fruitful City. ECW Press. [Moncrieff mentions sumac only in passing, but The Fruitful City offers a compelling case for making good use of the fruit trees that grow practically untended along urban streets and alleys.
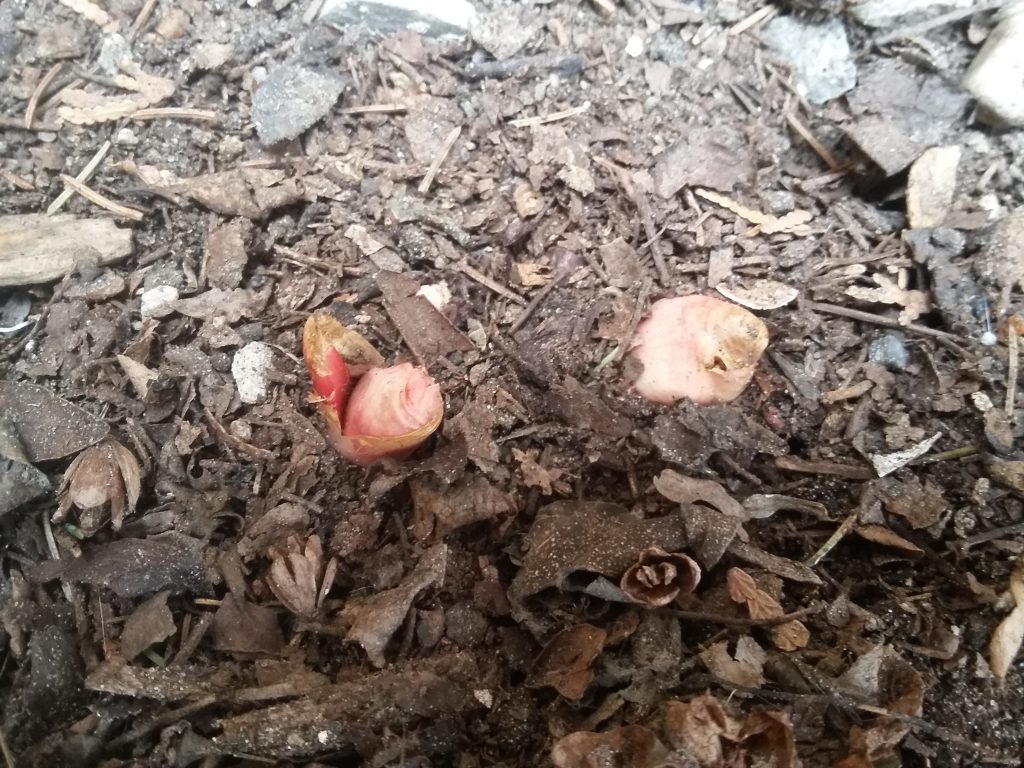
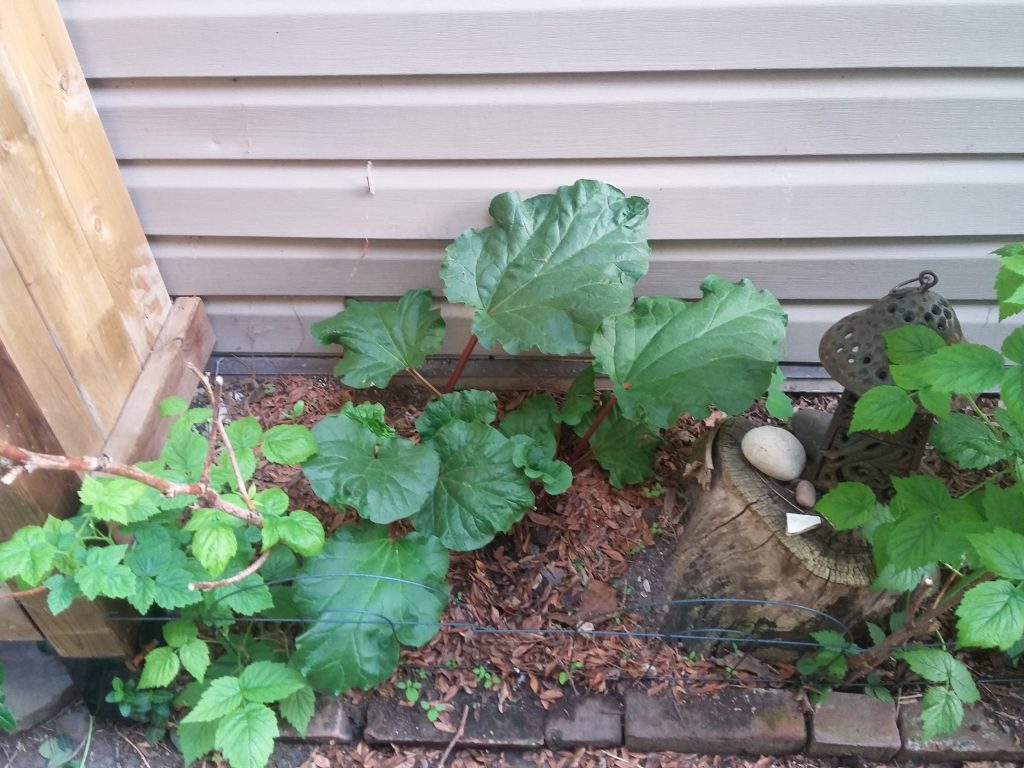
These fat nubs are my rhubarb, planted last summer and, after overwintering, poking through the soil in the narrow garden plot beside our garage and promising a first proper harvest to come in June!
Rhubarb reportedly prefers well-drained, fertile soil in full sun, but the garden plot where we have planted ours has thin, stony soil and only partial sunlight. It is also partly beneath the eave of our neighbours’ garage, meaning it receives only peripatetic rainfall. But last year it seemed to do quite well, and I’m hopeful that this year we’ll get a decent harvest.
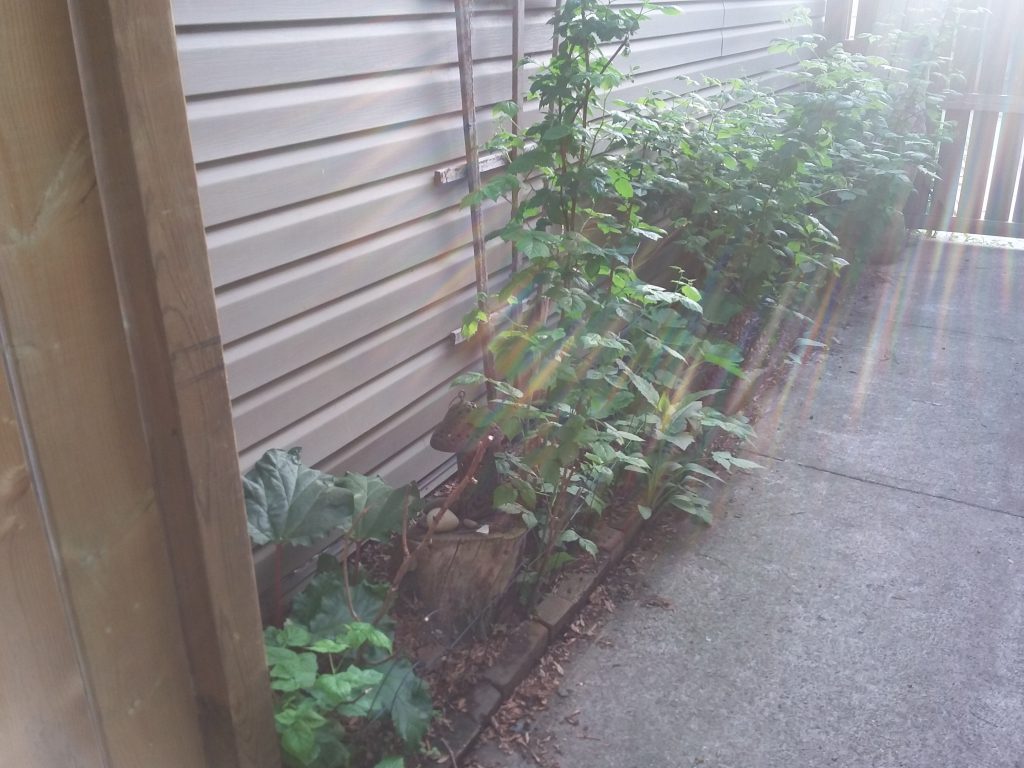
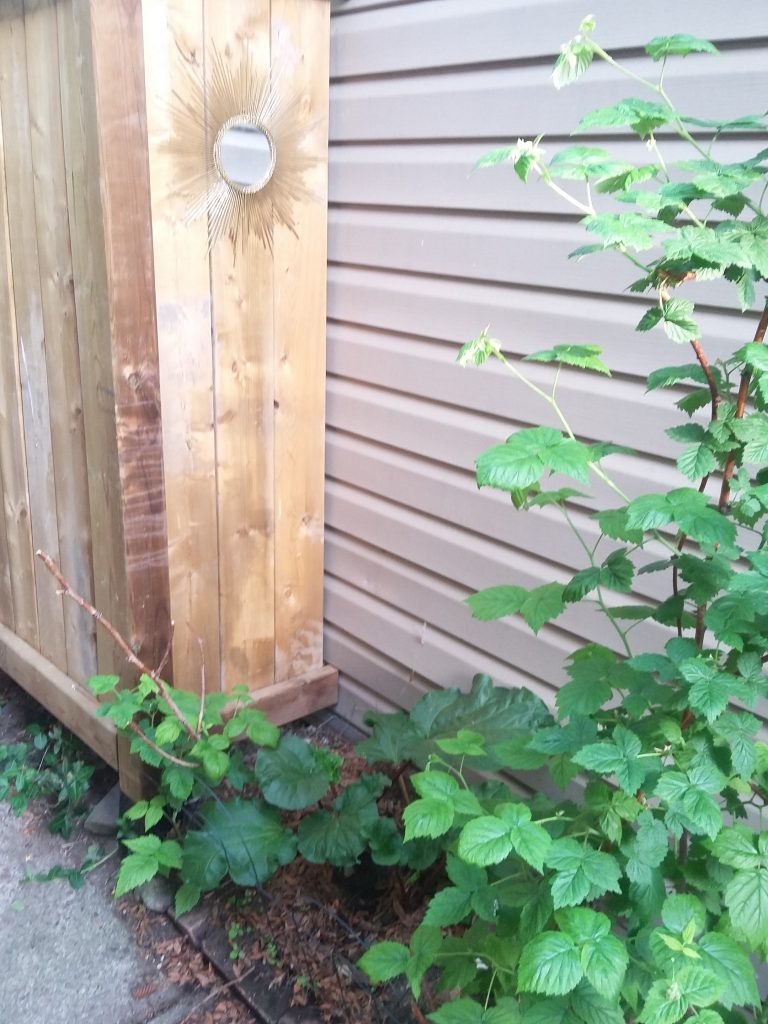
A decade ago this stretch between our neighbours’ garage and our back walkway was dry and stony, and underlain by shards of glass and broken concrete. I resolved to turn it into a garden where I could grow raspberries, and here is what it looked like last June.
I’ve set in a row of old bricks to hold soil and moisture, and every year I amend the soul liberally with compost. To me this strip–about 18 inches wide and about 12 feet long–is evidence that almost any space can be made into a garden with a little care and a willingness to experiment. It does have limitations, though: last year we planted zucchini along here, which flowered but never fruited and eventually developed powdery mildew.
This year I would like to grow a few sunflowers along here, and am tempted to colonize the garage wall with hanging planters for lettuce or other shade-tolerating edibles.
But for now, the big news is that the rhubarb is up!
 Lemon verbena (Aloysia citrodora) is a tropical plant of the verbena family, native to South America where it grows as a perennial shrub, but cultivated in northern regions as an annual. It is one of my favourite herbs, mainly because of its strong, sweet, lemony scent. It makes the finest jelly—complex, multilayered and winey—but can also be preserved in oil and vinegar, infused into butter, dried for tea, and used fresh in baking.
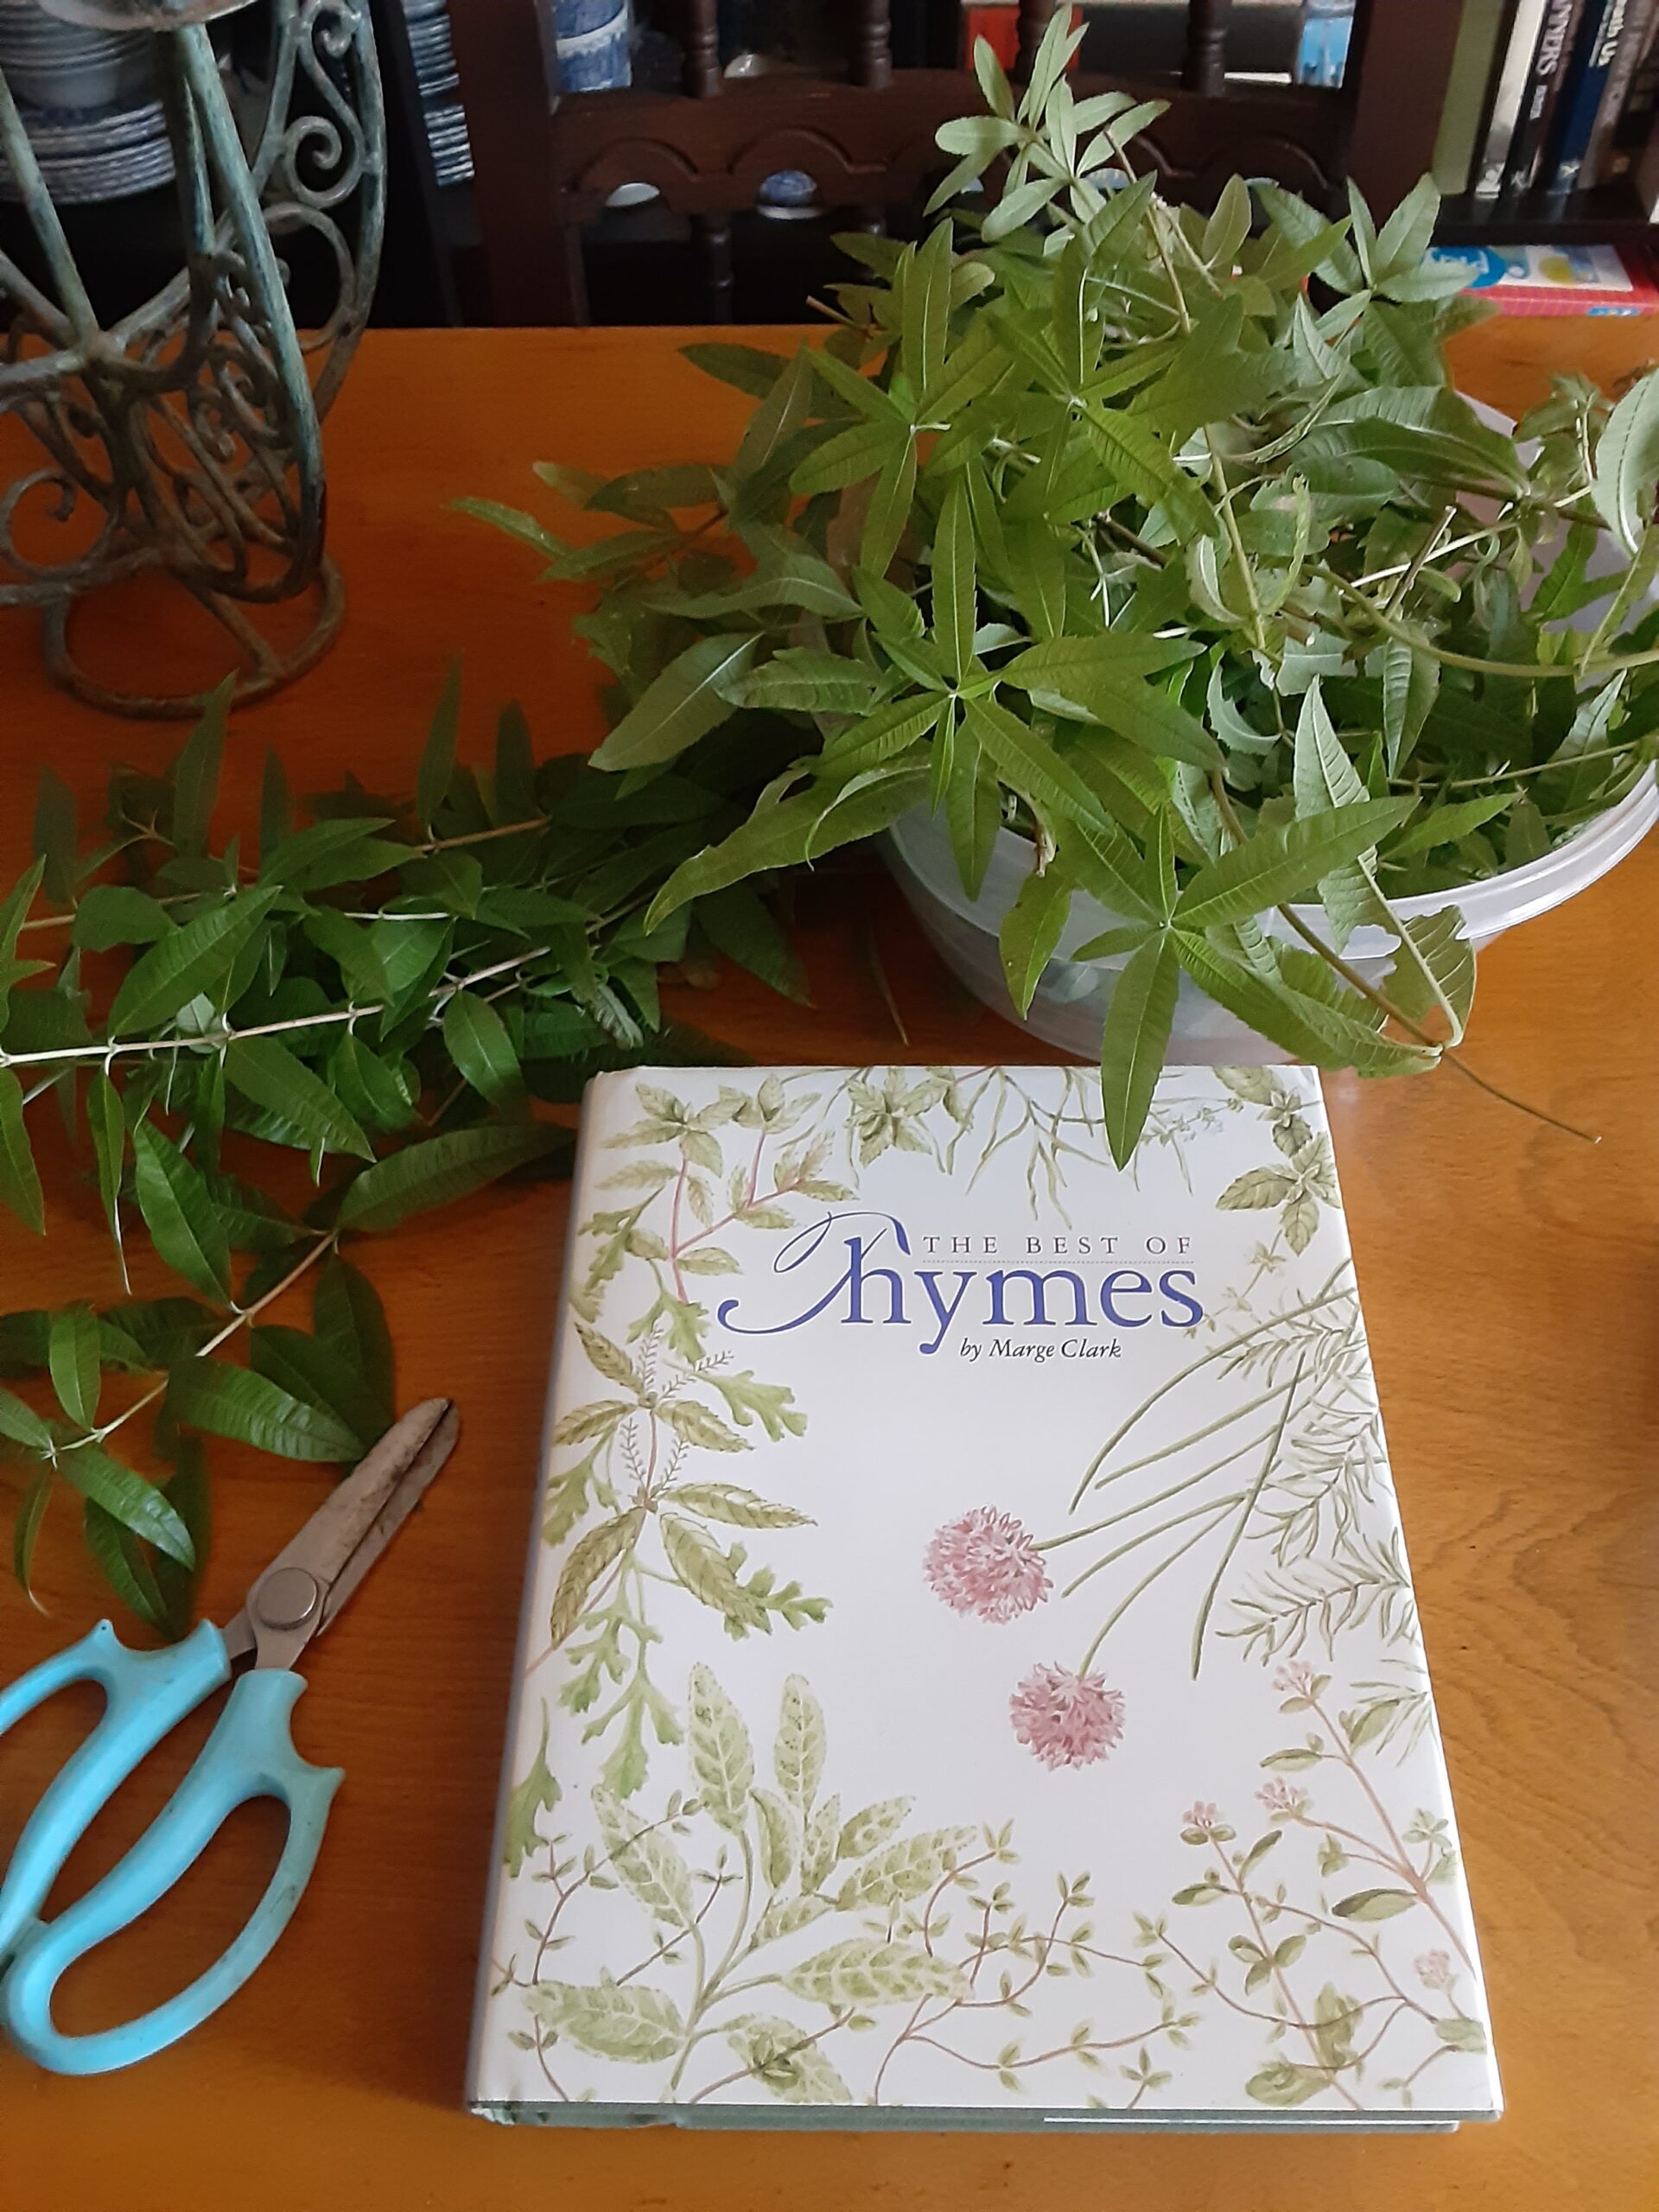 Making herb jellies is quite straightforward. It revolves around making an infusion of the bruised leaves of a given herb in boiling water, a thing for which most highly flavoured herbs (perhaps the best known being mint) are well suited. The herb leaves are strained out, and the infusion is then jellied, bottled and processed to be safely shelf-stable. Some people complain about the quantity of sugar that goes into most jellies, but (as preserving experts will attest), sugar is one of the ingredients that keeps jellies shelf-stable for long periods. I preserve my jellies in small (125 ml) jars, because I find a little goes a long way. Lemon verbena jelly spread on fresh sourdough toast is one of my favourite things to eat, and one little jar can cover a month’s worth of weekend toasts. Most of these little jars will be given as gifts to friends, but I will keep two or three for toast.
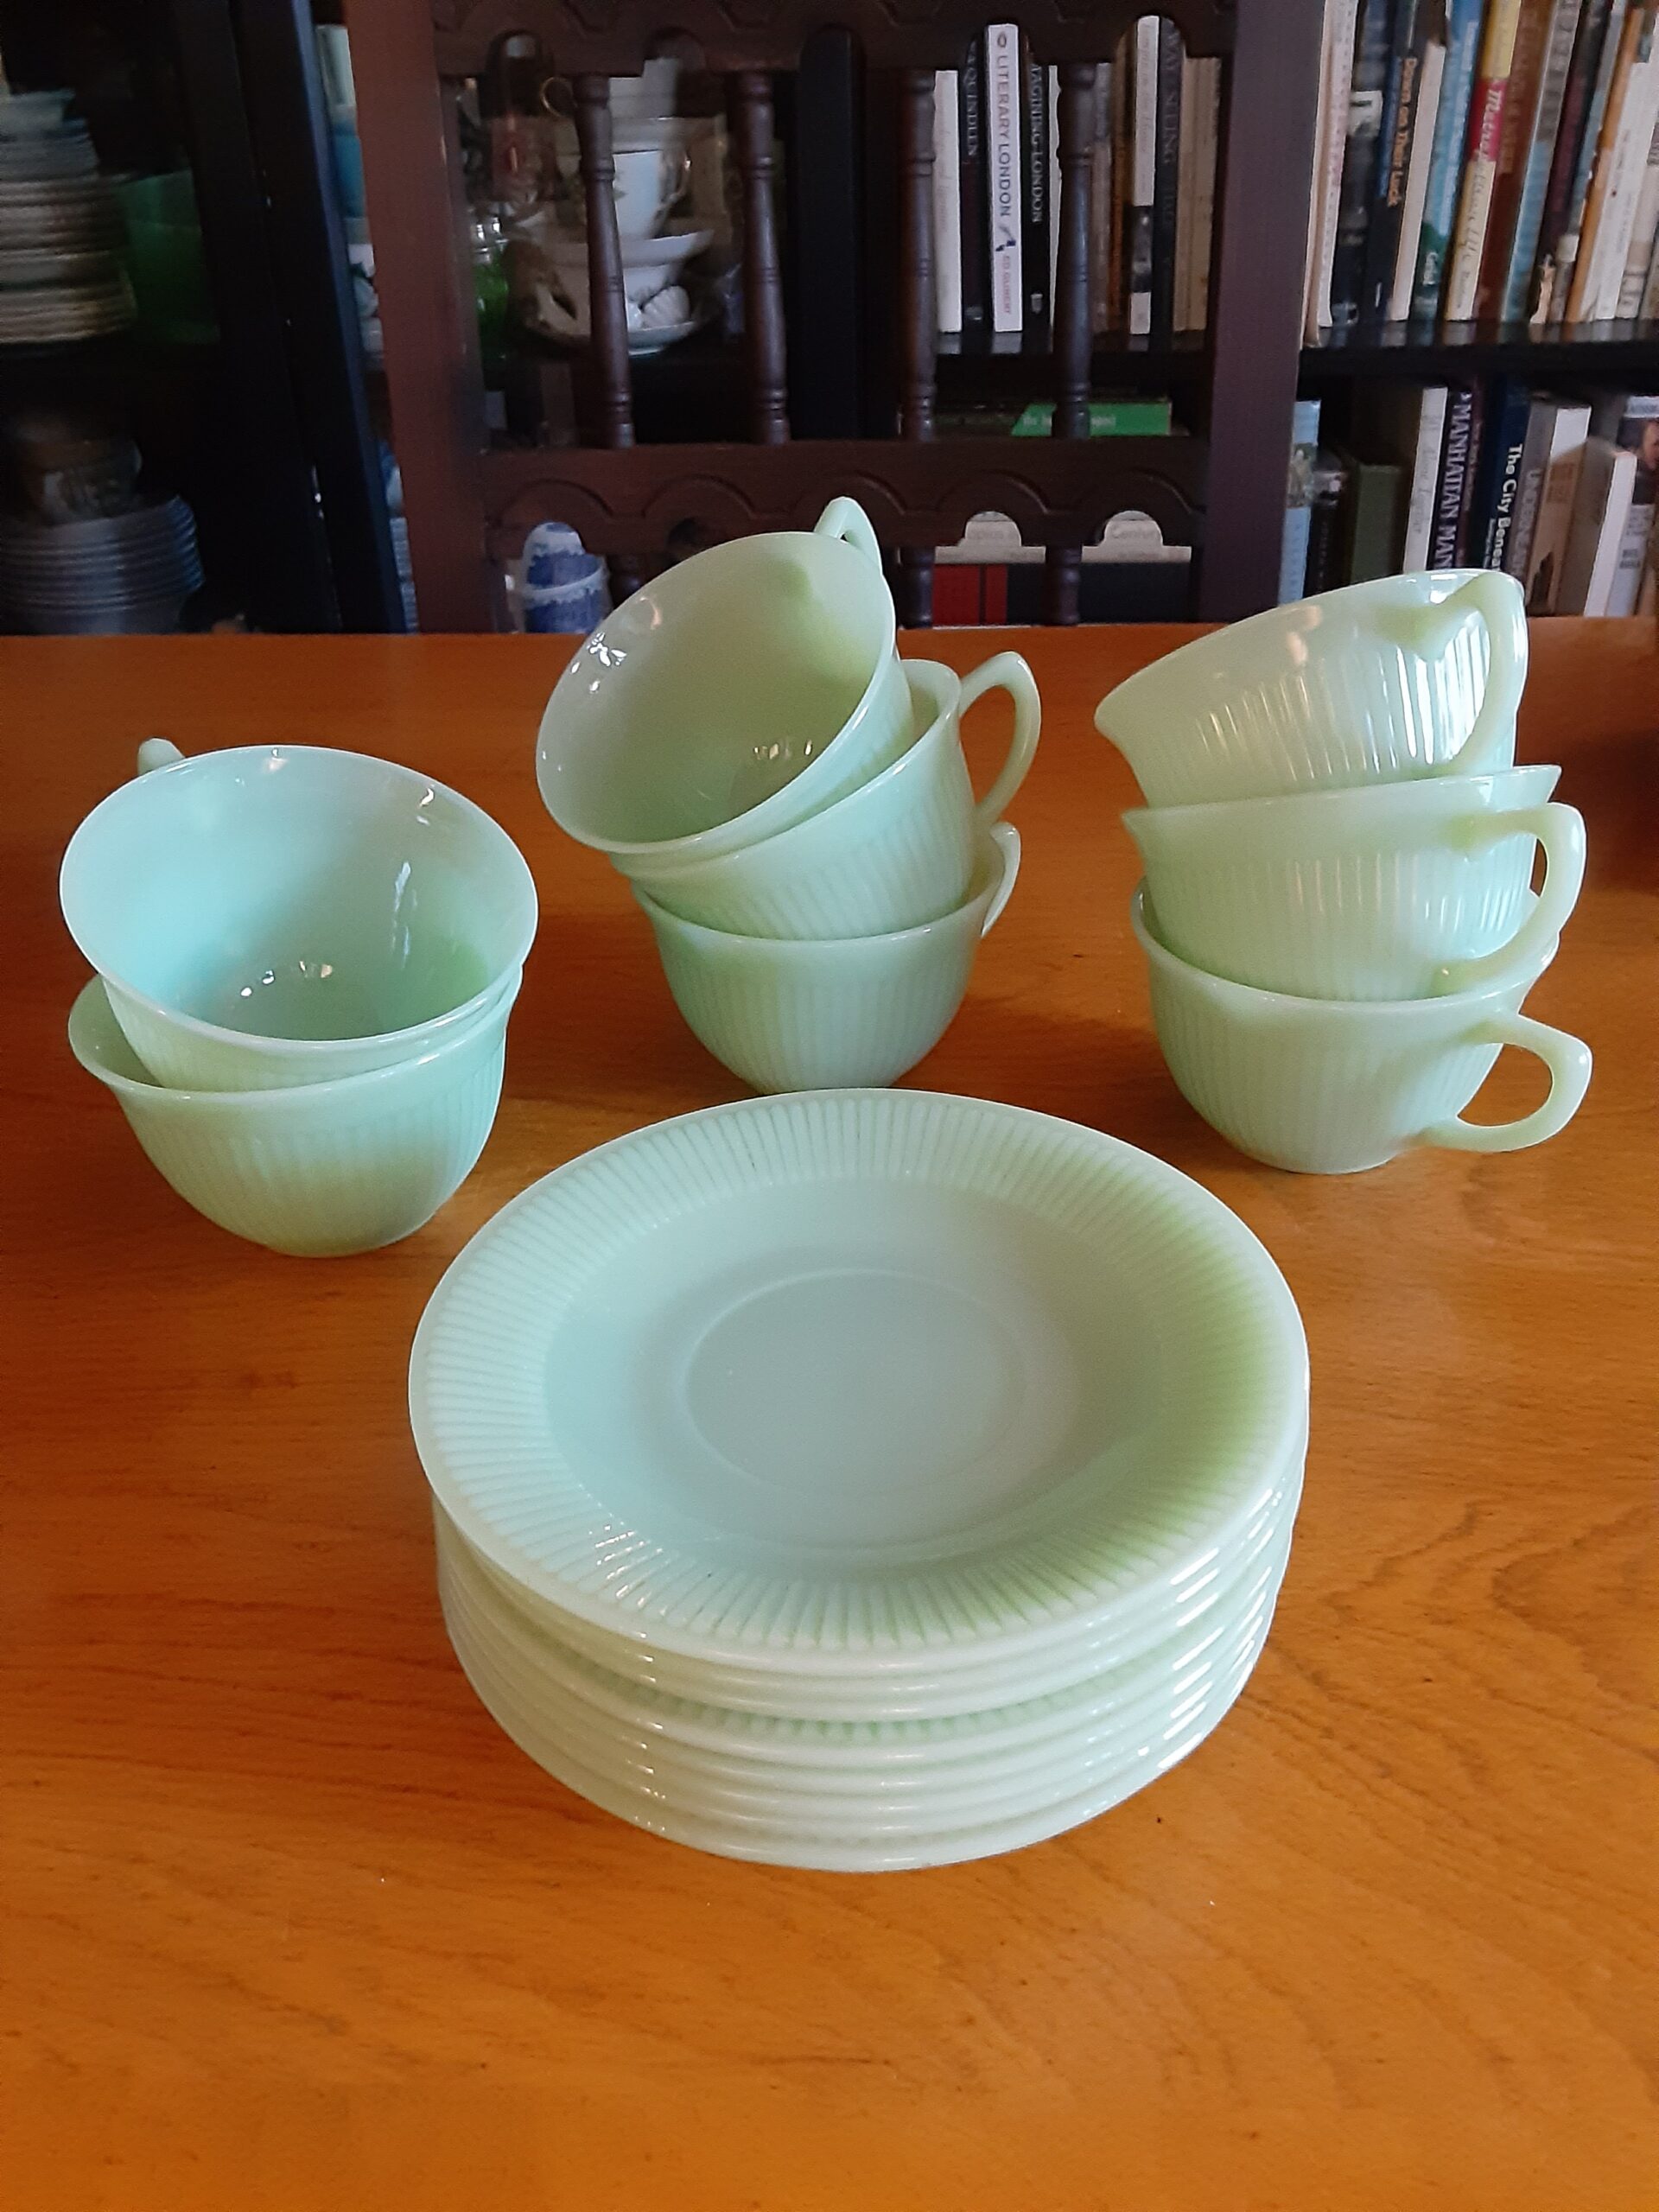 Here’s a bonus picture of eight 1950s-era Jane Ray (Fire King) teacups and saucers I found on the shelf at Value Village a week ago, bundled in sets of four for $5.99 each. This was an improbable find—Jadeite, remains highly collectible and it has become uncommon to find pieces at thrift stores—but I found them deposited on a shelf in the board games section, suggesting they had been picked up and then set down by one of the resellers who prowls the local thrifts. Maybe there’s not enough of a margin on Jadeite teacups, or perhaps they’d been set down because they are unmarked, but I was happy to add them to the small collection of Jadeite I’ve built up since buying my first Anchor Hocking Swirl bowl for $3 at an Eastern Ontario yard sale in 1996. I still use that beautiful bowl every time I make bread (it’s my proofing bowl), and we use Jadeite saucers almost every day as sandwich plates.